Overview: In this section, you set up Tenfold Dashboard, enable SSO for Tenfold, and test inbound and outbound calling
- Log in to Tenfold Dashboard as an admin user.
- Navigate to Company Settings > CRM.
- From the menu, select Salesforce BYOT.
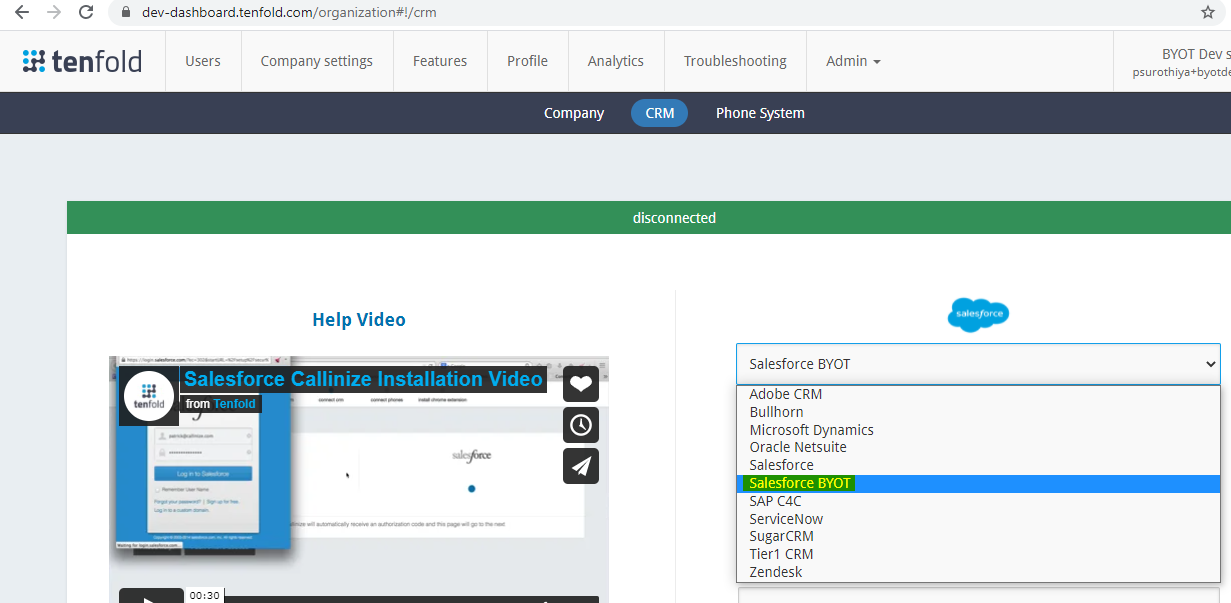
- Check to make sure you are connected to the right Salesforce org.
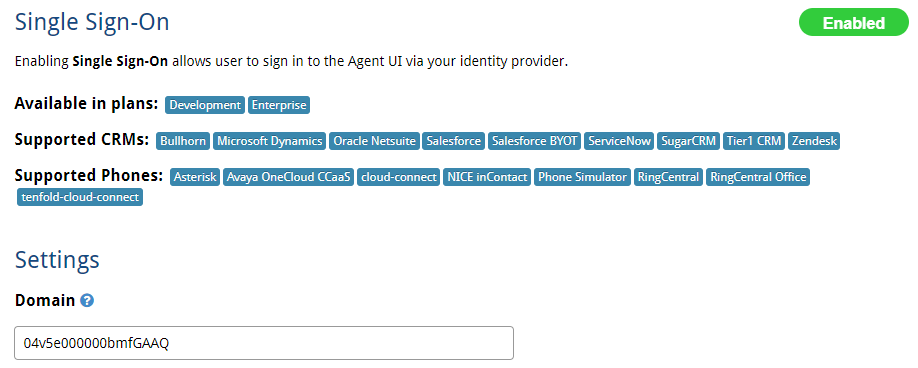
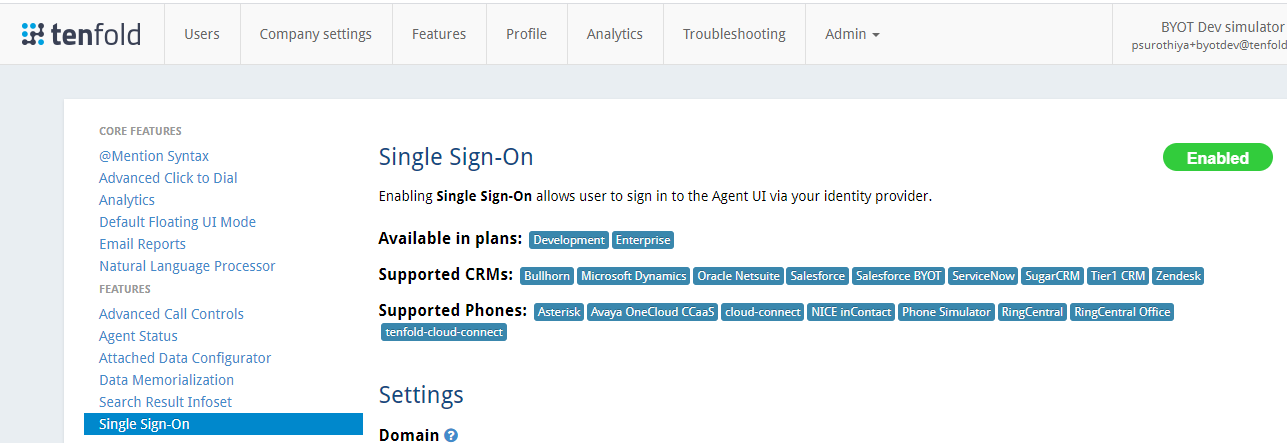
- Navigate to Features > Single Sign On and enable the feature.
- Click Upload file to upload the identity provider metadata file downloaded in the Set up a single sign-on (SSO) connected app and Salesforce as IDP procedure.
- NOTE: In the Domain box, enter your Call Center ID from Salesforce.
- When it uploads successfully, the relevant fields automatically populate.
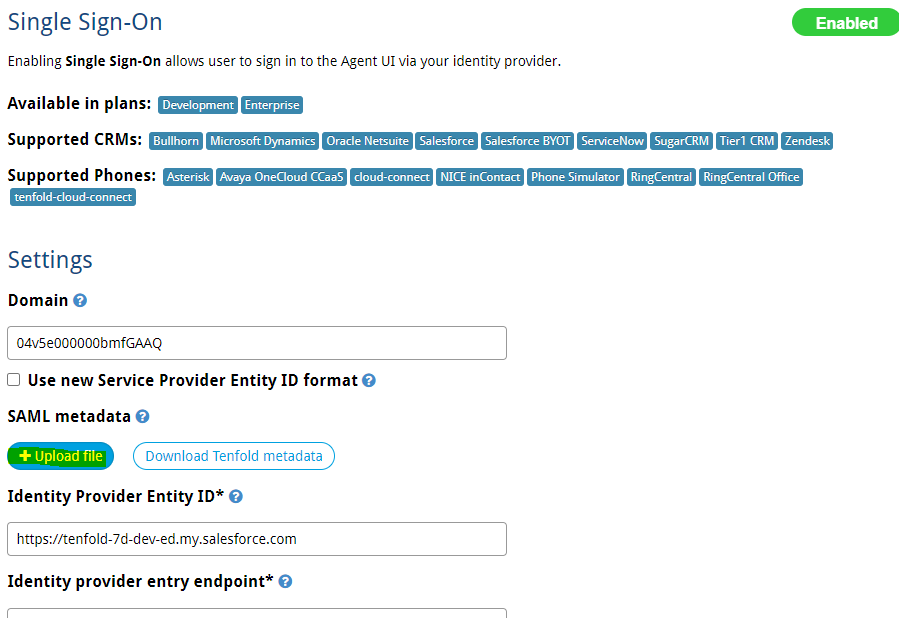
- To complete the Domain field, do the following:
- Go back to Salesforce and search for "voice" on the Setup Home page. Click Contact Center when it displays.
- Open the Tenfold Connector.
- Copy the section of the URL shown in the screenshot below.

- Go back to the Tenfold Dashboard Single Sign On page and paste the value from the previous step in the Domain box.