Install the Tenfold UI for ServiceNow OpenFrame
ServiceNow OpenFrame installation video
Watch a video demonstration:
NOTE: There are two options on the download page for ServiceNow. One auto-updates and the other is for controlled releases (version controlled).
Install Tenfold
- Install the OpenFrame plugin in ServiceNow.
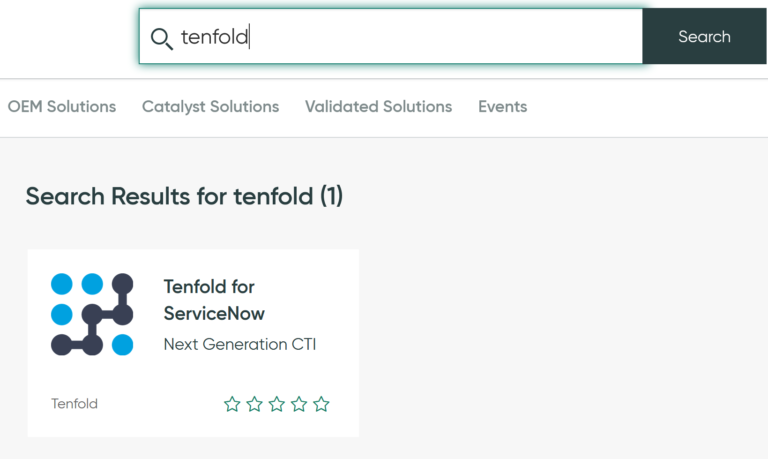
- In the Filter Navigator go to “Search ServiceNow Store” and install “Tenfold for ServiceNow”.

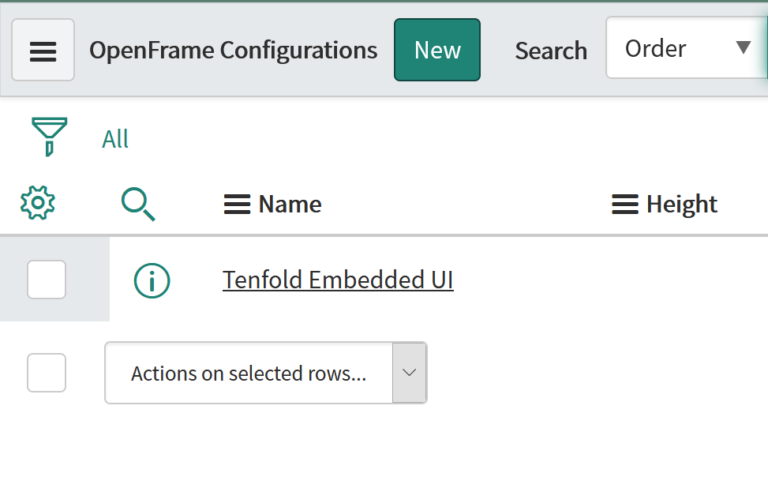
- In the “Filter Navigator” go to “OpenFrame” under “System Properties."
- The Tenfold for ServiceNow app should have added an OpenFrame configuration titled “Tenfold Embedded UI." If it’s not there you may create a new one.
- Edit the “OpenFrame” configuration.
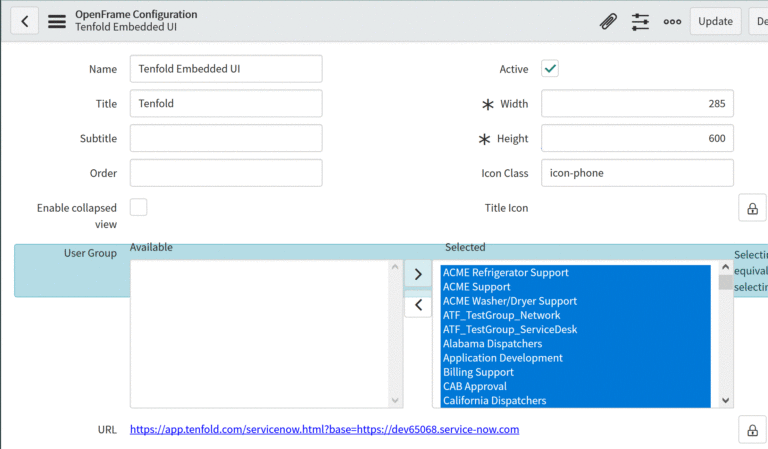
- Set the configuration to Active.
- Set the User Groups you would like to have access.
- Set the desired width and height.
- Edit the URL and add your CRM instance URL:
https://app.tenfold.com/servicenow.html?base=https://<em><your_instance_URL></em> - Save the configuration.
Whitelist the app origin
It is necessary to whitelist the Tenfold app origin so that the OpenFrame frame can communicate with the top frame.
- In the “Filter navigator” type
sys_properties.listand then press Enter. - Search for the property
glide.ui.concourse.onmessage_enforce_same_origin_whitelist.
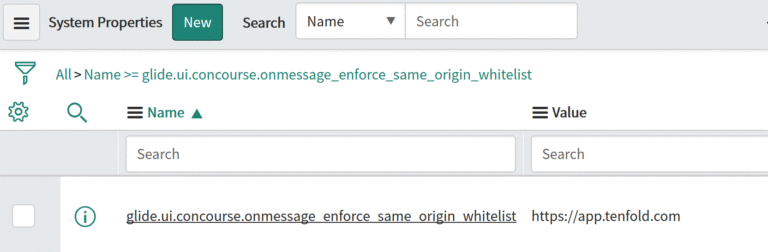
- Edit this property and add
https://app.tenfold.comas the Value.
Tenfold for ServiceNow OpenFrame user video
See how to use Tenfold for ServiceNow OpenFrame in the following video:
Was this article helpful?
Be the first one to vote!
This site is protected by reCAPTCHA and the Google Privacy Policy and Terms of Service
Loading