Uploading and selecting account-level audio cues (earcons) and voices for each locale
Introduction
You can configure your account-level voice settings per locale and upload your own audio cues.
Voice settings
Brand admins can configure account-level preferences for the voice, tone, rate, and pitch per locale. These settings are inherited by the bot as the default voice.
1 - Log into Conversation Cloud.
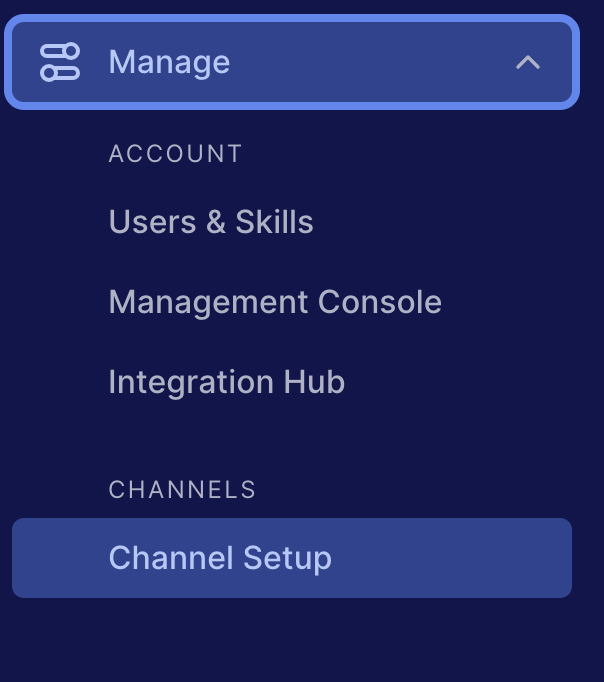
2 - Open the menu on the left side of the page, and select Manage > Channel Setup > Voice Configuration to open the configurations for Voice.
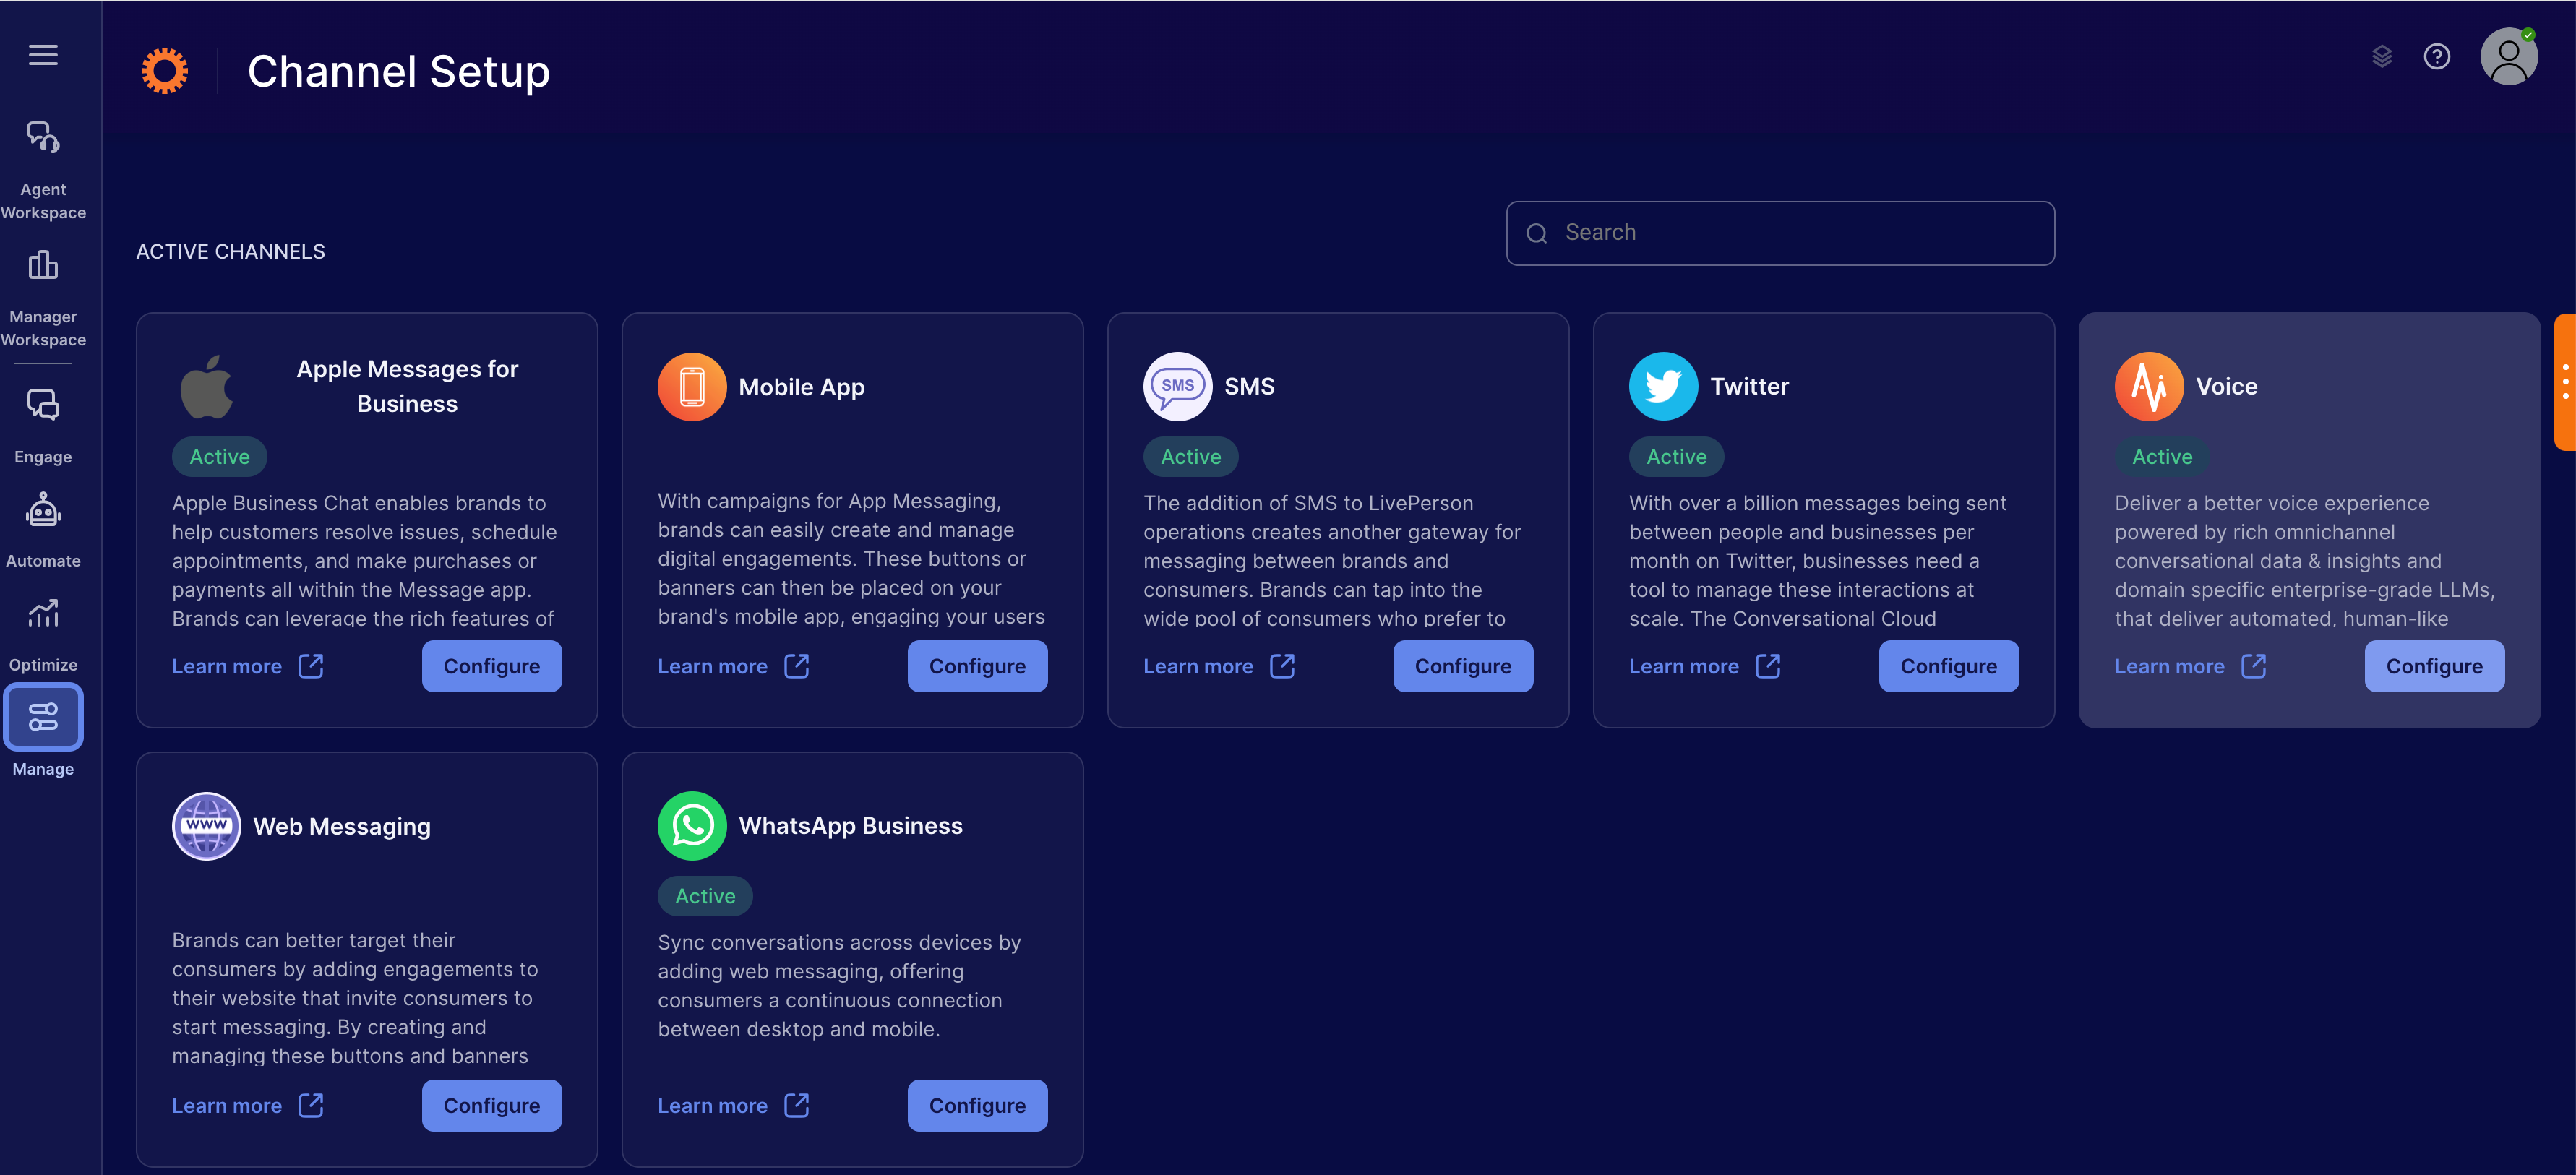
3 - Select the "Configure" option in the Voice tile.
4 - Select the "Audio Repository" subtab.
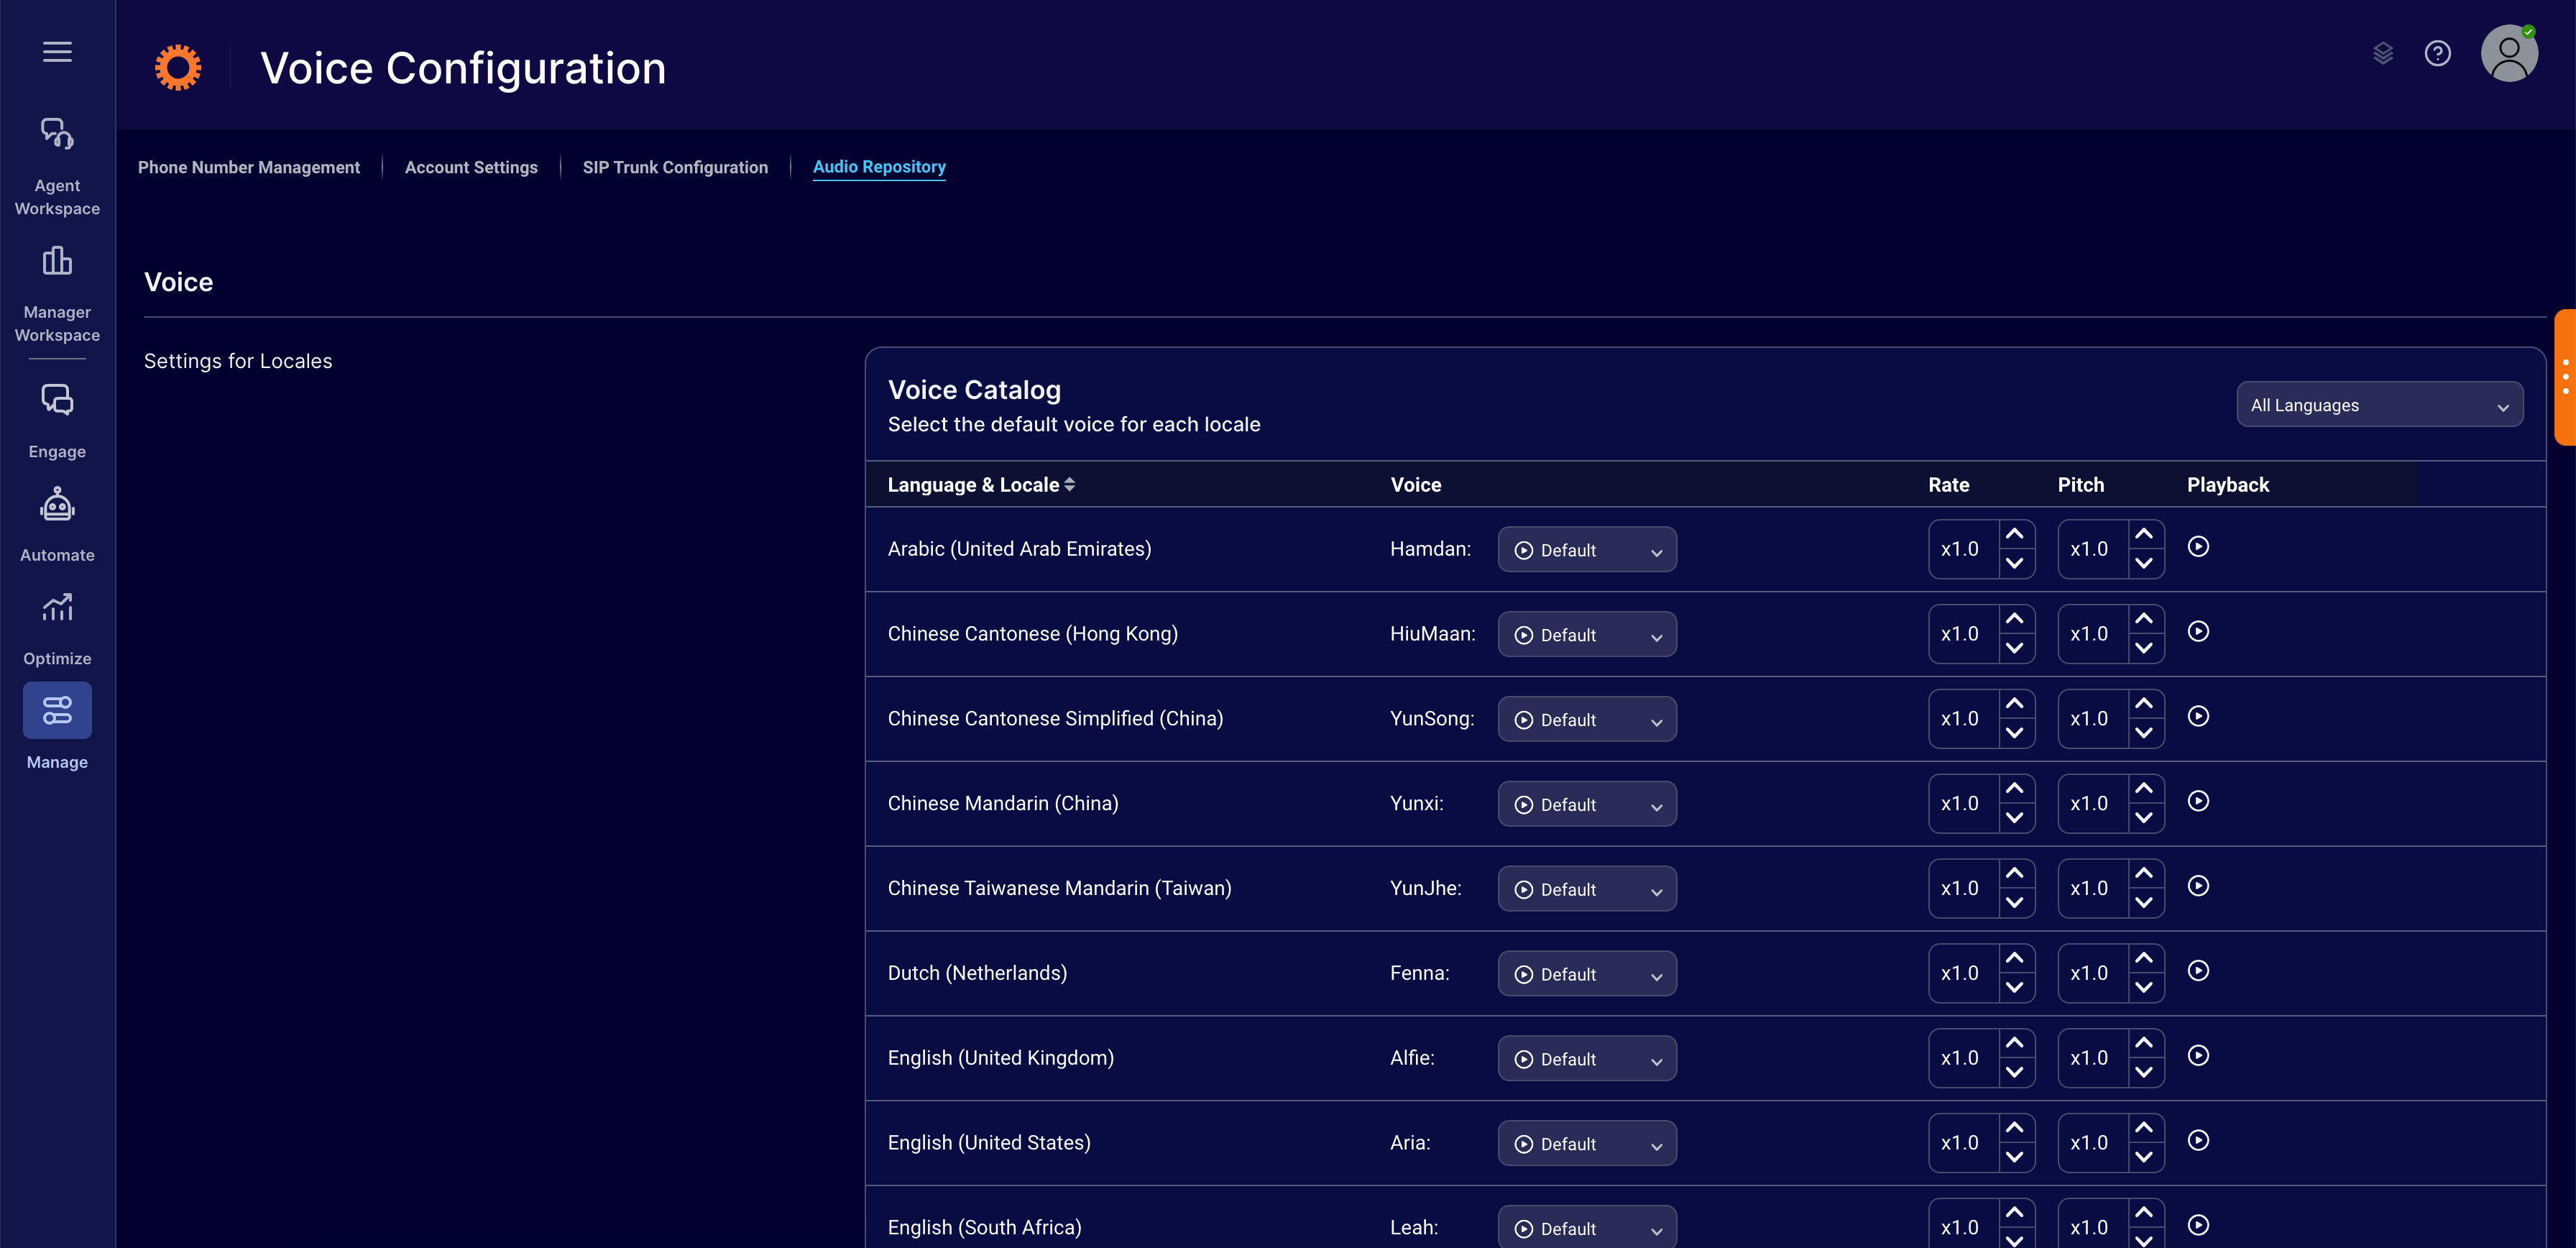
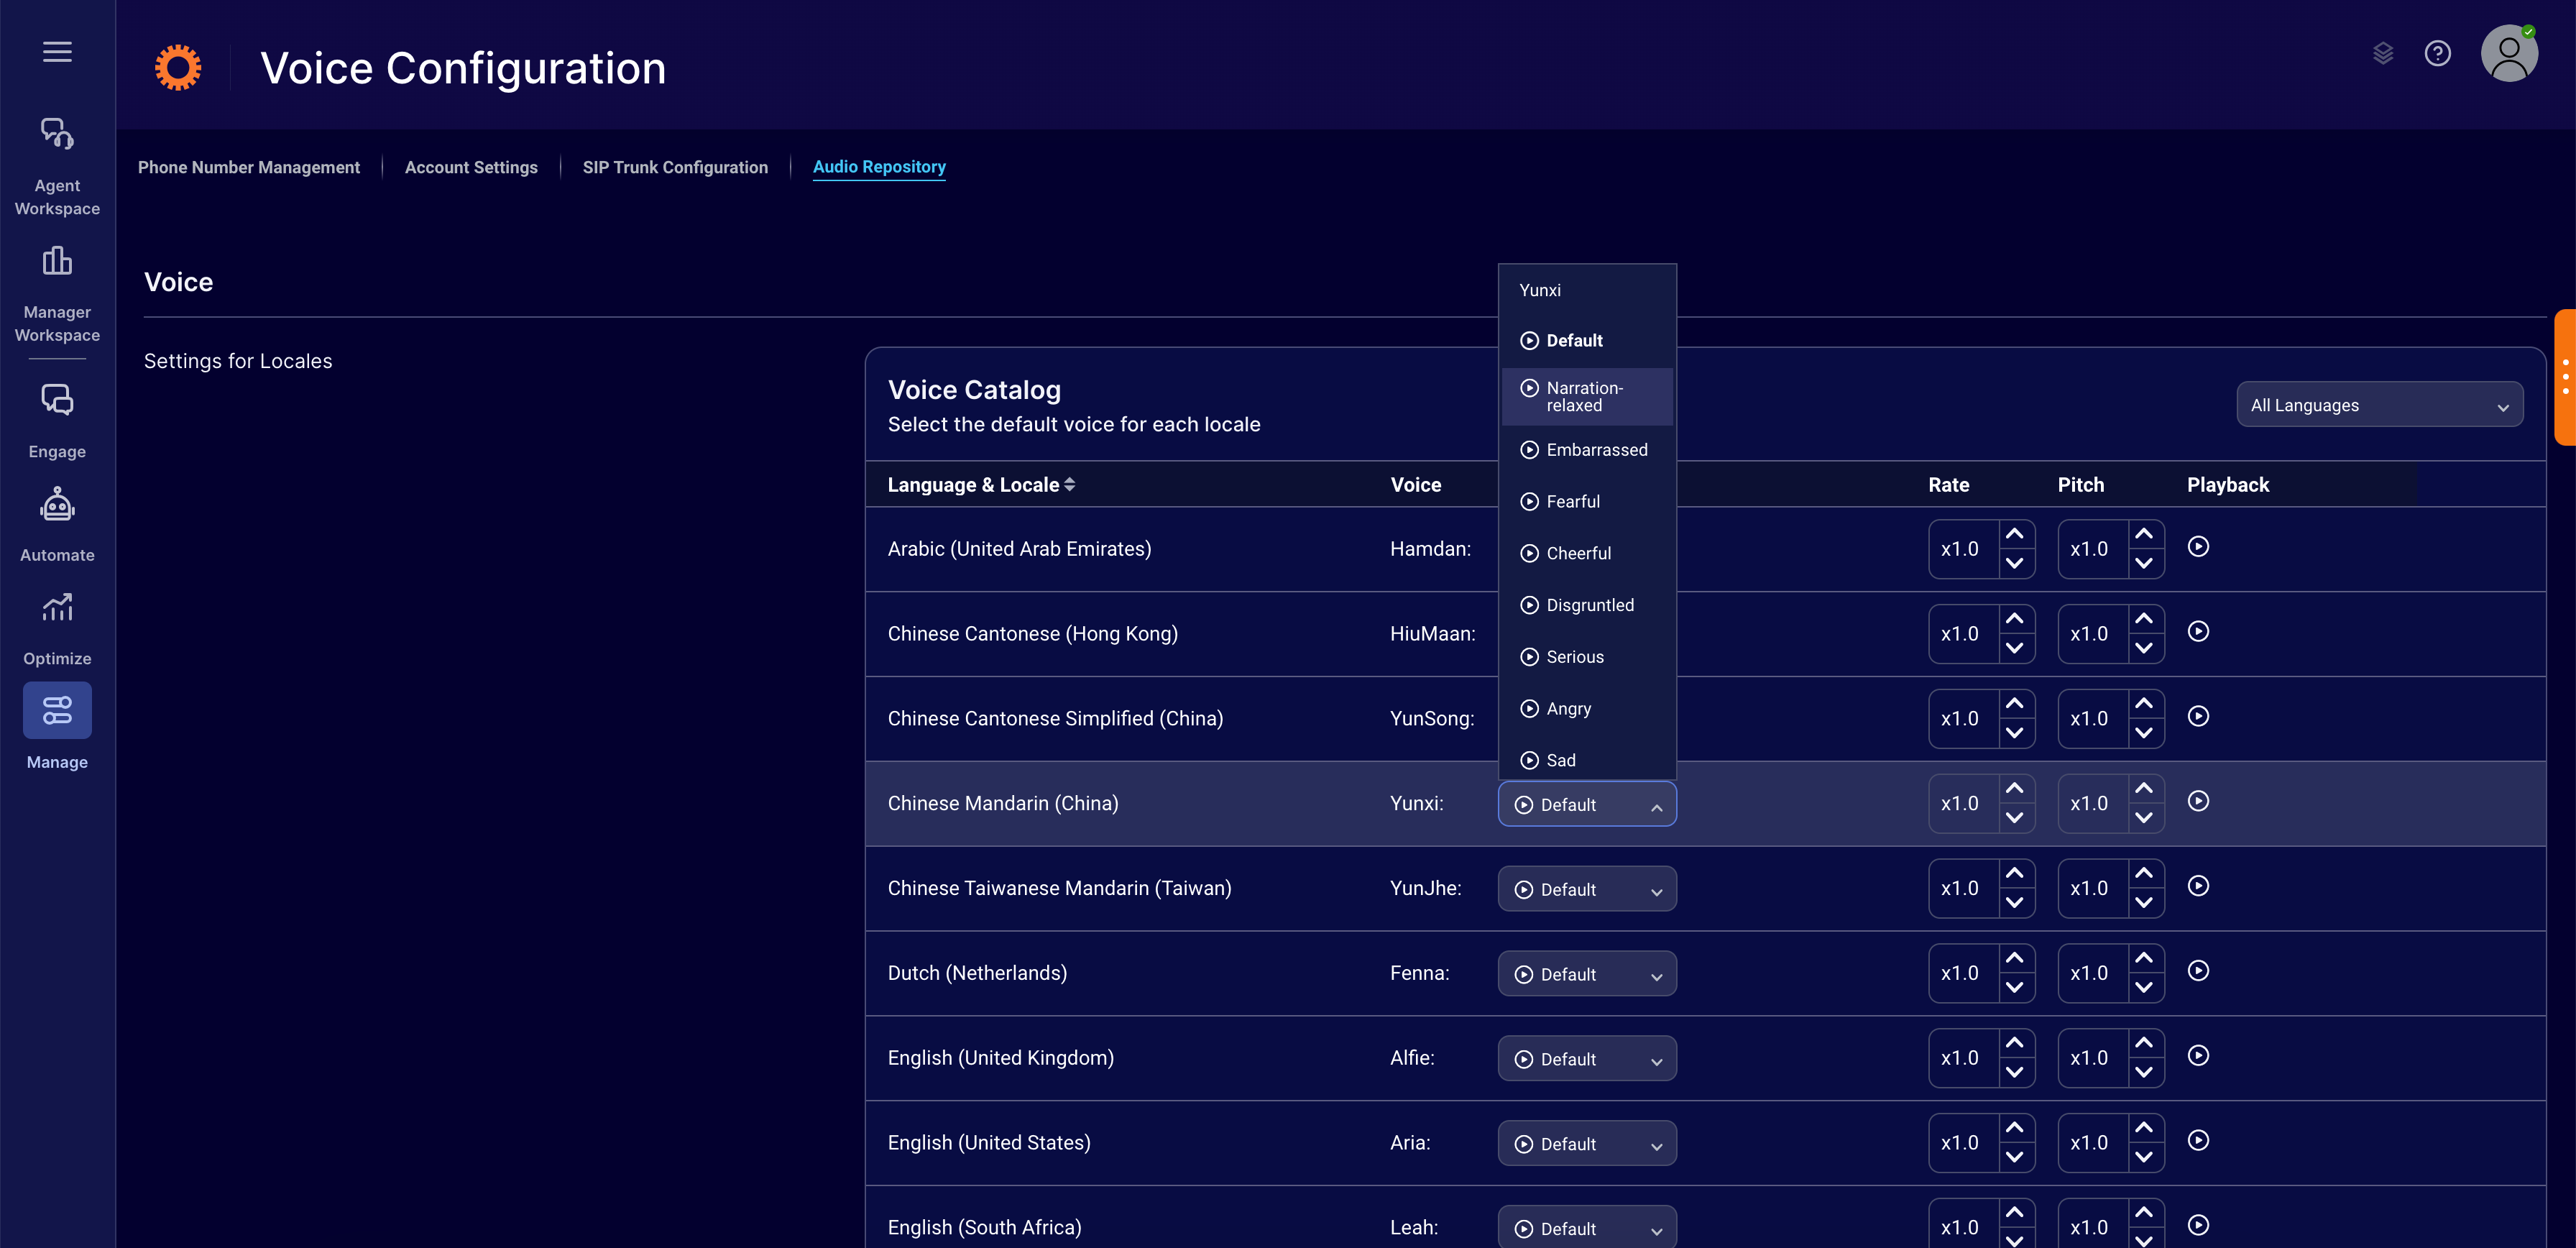
5 - You can select the specific voice, tone, rate, and pitch from a repository of voices. Once you edit the voice settings, you might want to preview how it sounds. Simply click the playback button to listen to the voice settings.
Audio cues
Brand admins can configure their account-level preferences for the audio cues that are played when the bot is processing a specific consumer request. These settings are inherited by the bot as the default setting.
1 - Log into Conversation Cloud.
2 - Open the menu on the left side of the page, and select Manage > Channel Setup > Voice Configuration to open the configurations for Voice.
3 - Select the "Configure" option in Voice tile.
4 - Select the "Audio Repository" subtab.
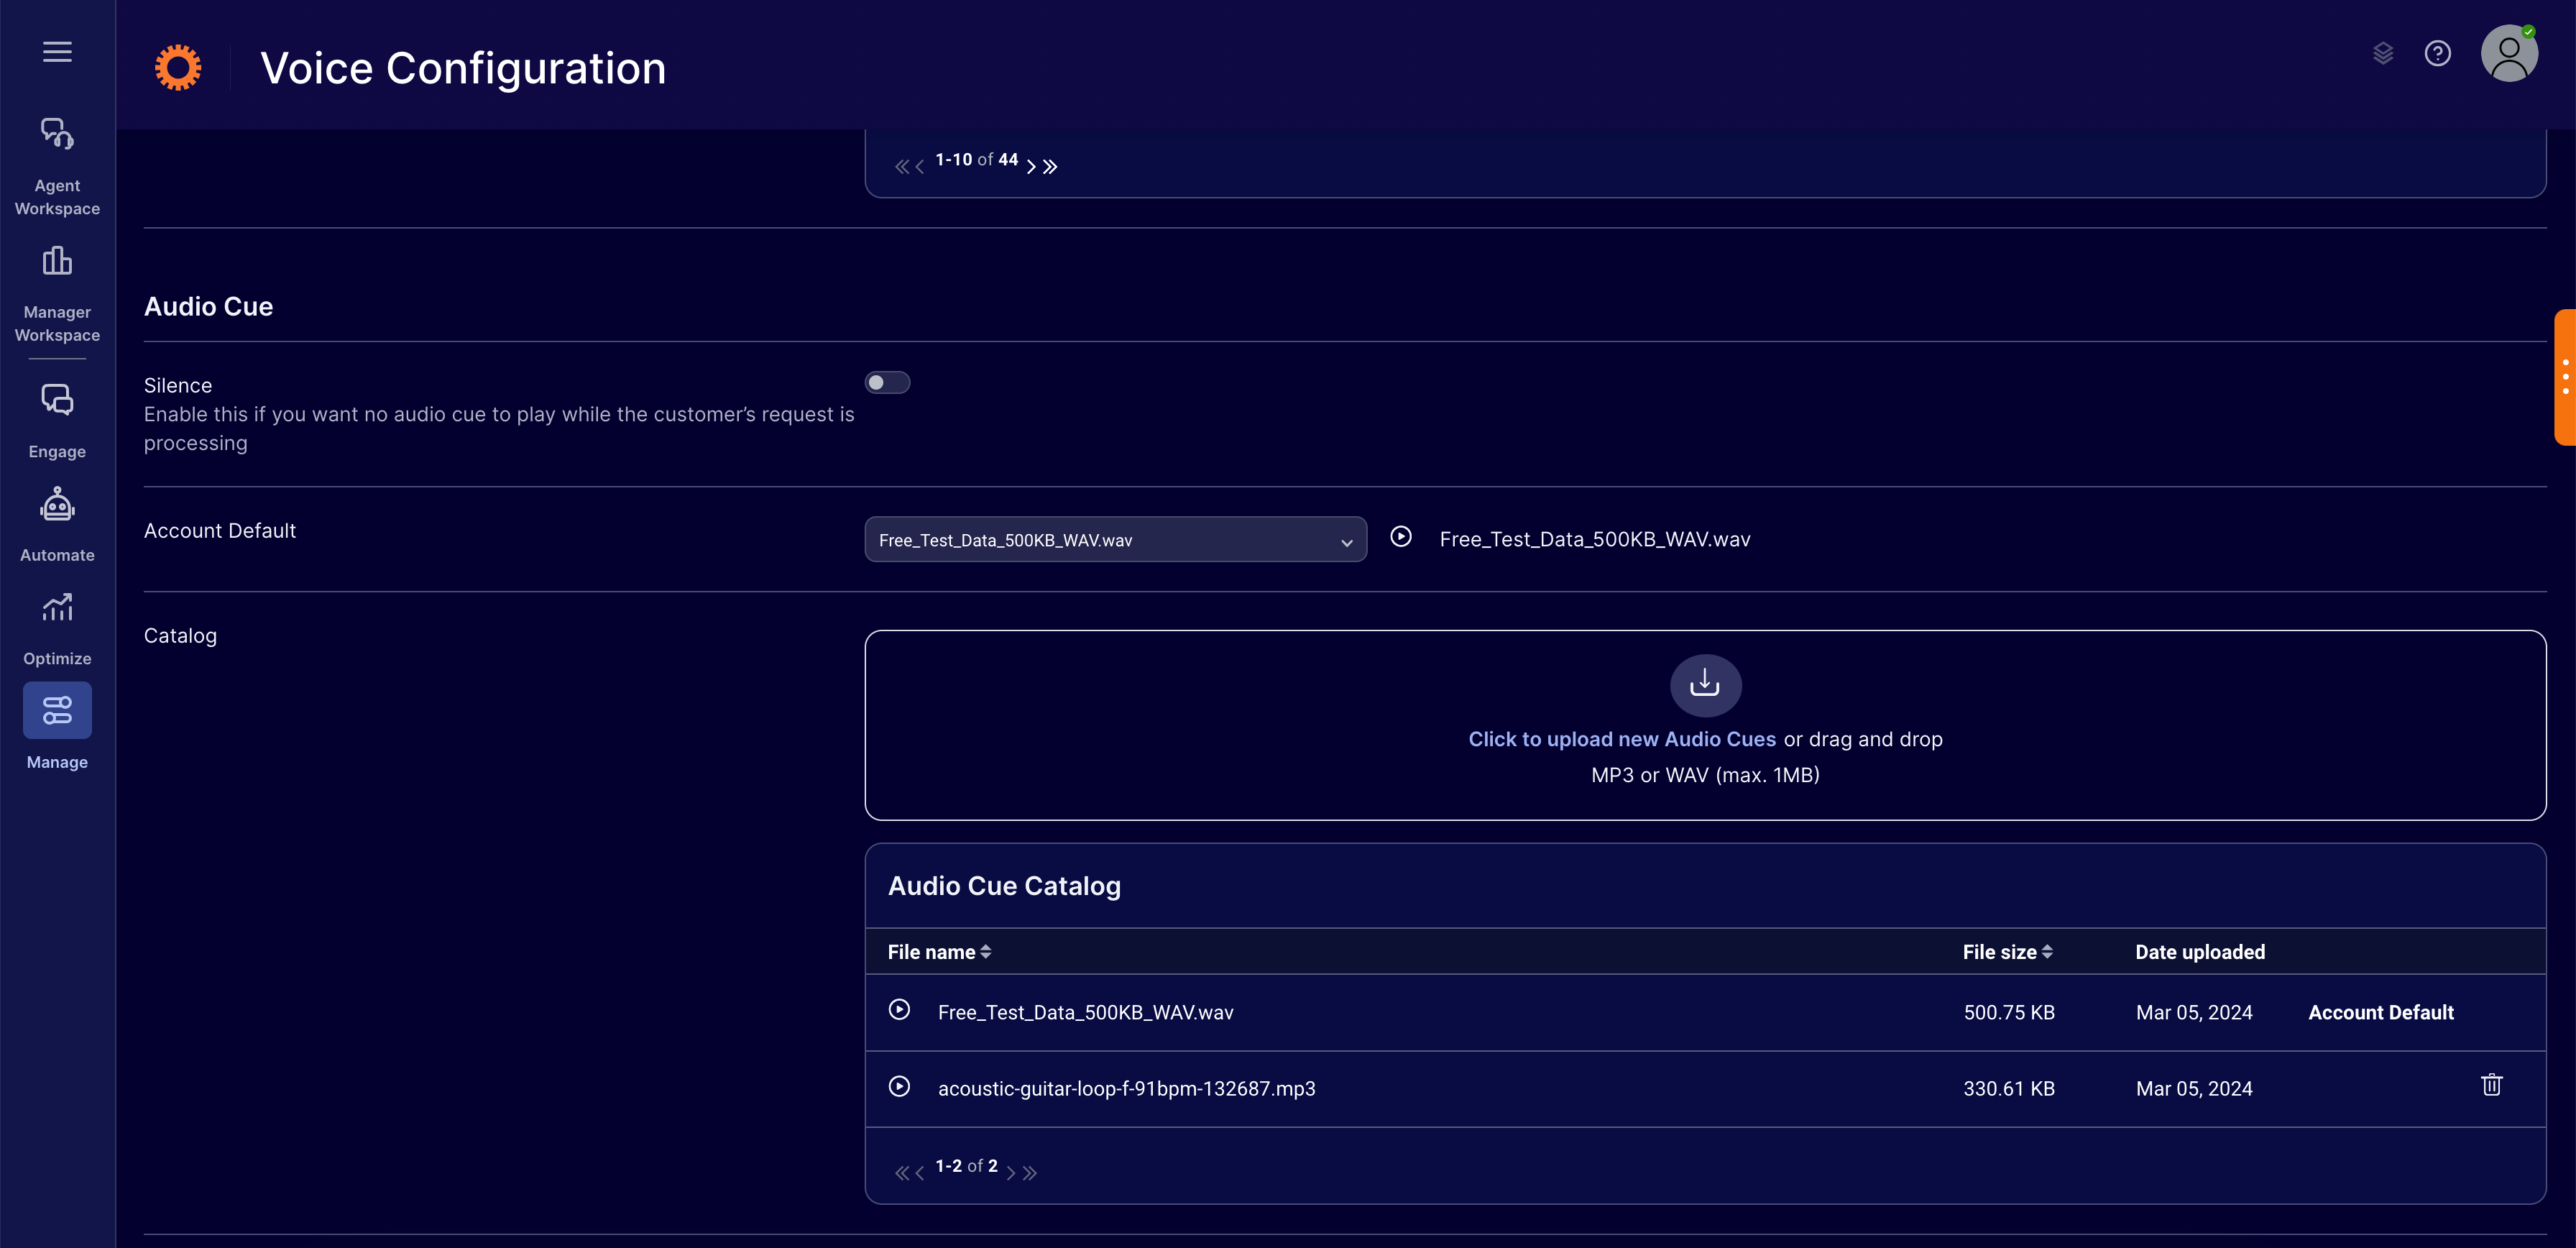
5 - You can upload up to 10 audio cues on the account and select the one you would like to use as the default in the dropdown. Please note, if consumer silence is enabled, the account default will be silence for the audio cue.