Prerequisites
- You must have a verified Meta Business. To learn more about business verification click here. In case your business is not yet verified, you can only send test messages in a 30-day trial experience to a limited range of numbers.
- Your Meta Business must have a valid website address set under Business Info, Business Details.
- The user adding the number in Conversational Cloud must have the Campaign Manager or Administrator roles.
- The user adding the number must be a manager of the Meta Business.
- Please have the phone number you plan to use for WhatsApp Business ready. This number should not yet be registered on WhatsApp Messenger or the WhatsApp Business App. If it is already registered on the WhatsApp Business app, please create a ticket here.
- You must be able to receive phone calls or SMS on the phone number that you plan to use for WhatsApp Business. For example, routing the call may not be possible for some IVR (Interactive Voice Response) systems. In the case that you are unable to receive the call or SMS for verification, please create a ticket here.
- If LivePerson provided your number, please follow the instructions to receive the activation call or SMS.
- Adding a number is not possible on trial accounts of Conversational Cloud.
Integrating WhatsApp Business
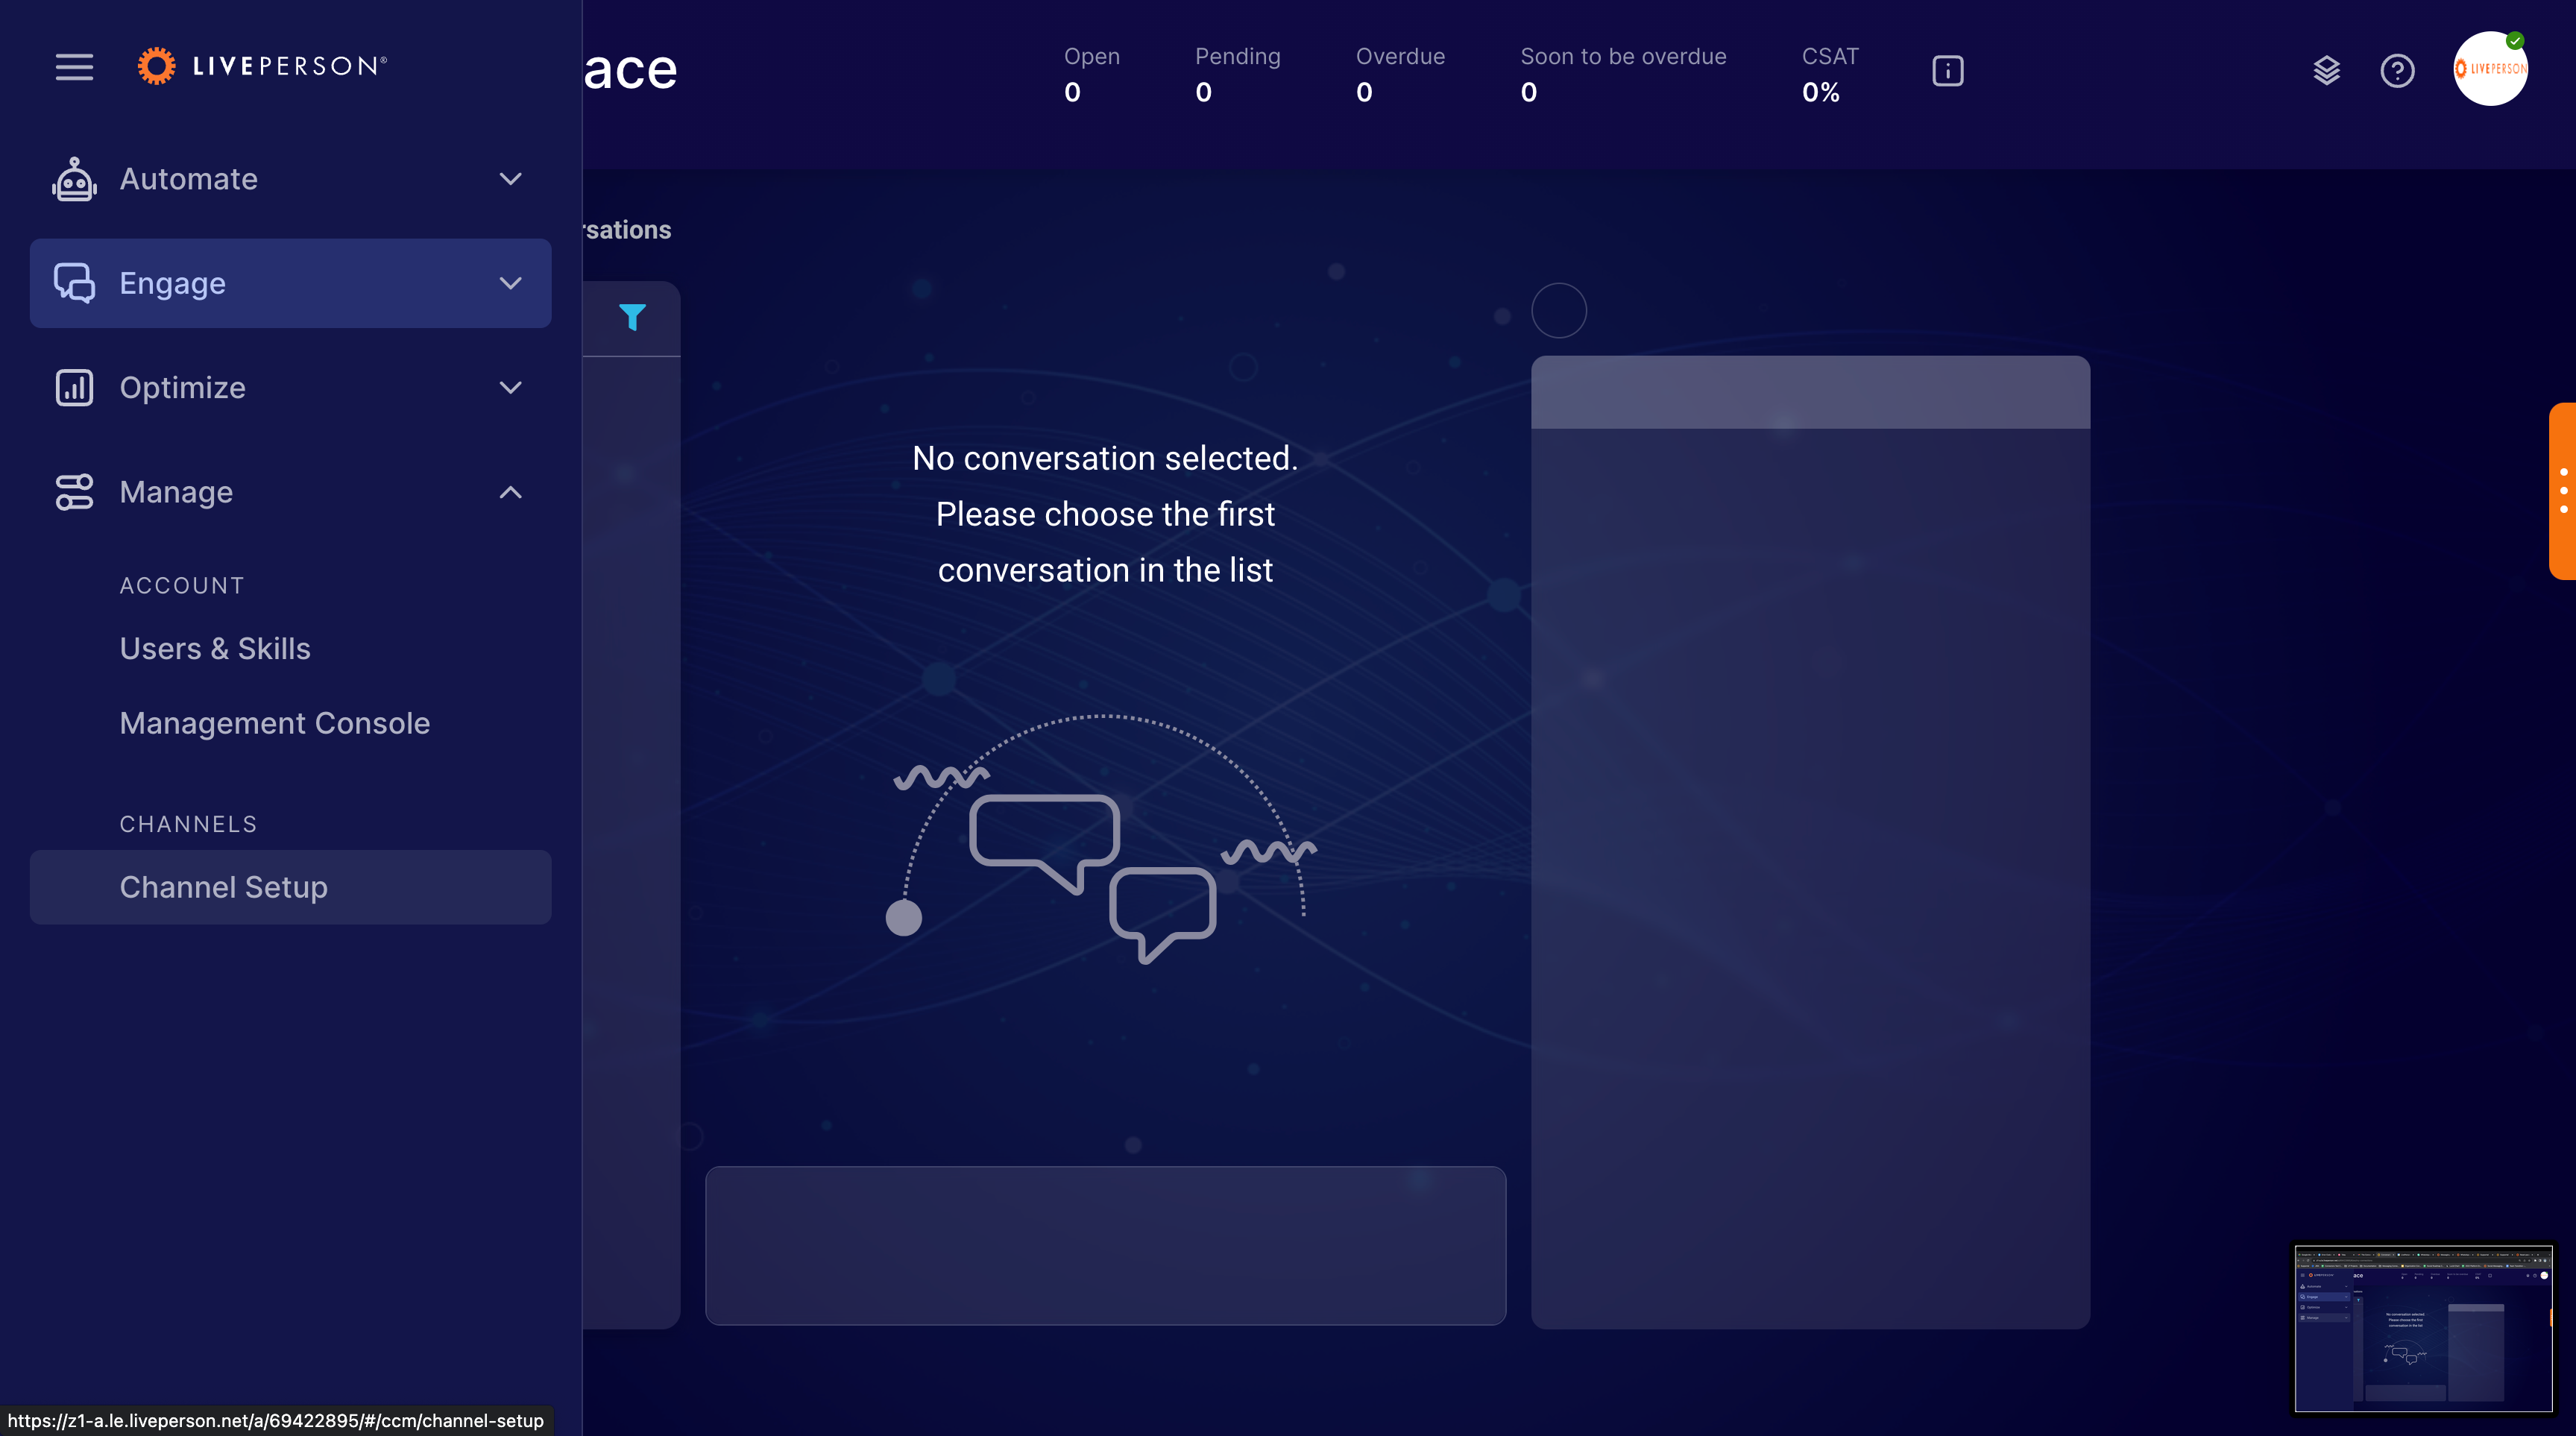
1. Log in to access the Conversational Cloud platform.
2. From the left navigation bar, click Manage > Channel Setup.
3. On the Channel Setup page, enter "WhatsApp" in the search box and locate the WhatsApp Business channel. By default, the WhatsApp Business channel shows the Get Started button. If a number is already integrated with the WhatsApp Business channel and requires changes or the addition of new numbers, the channel shows the Configure button instead.
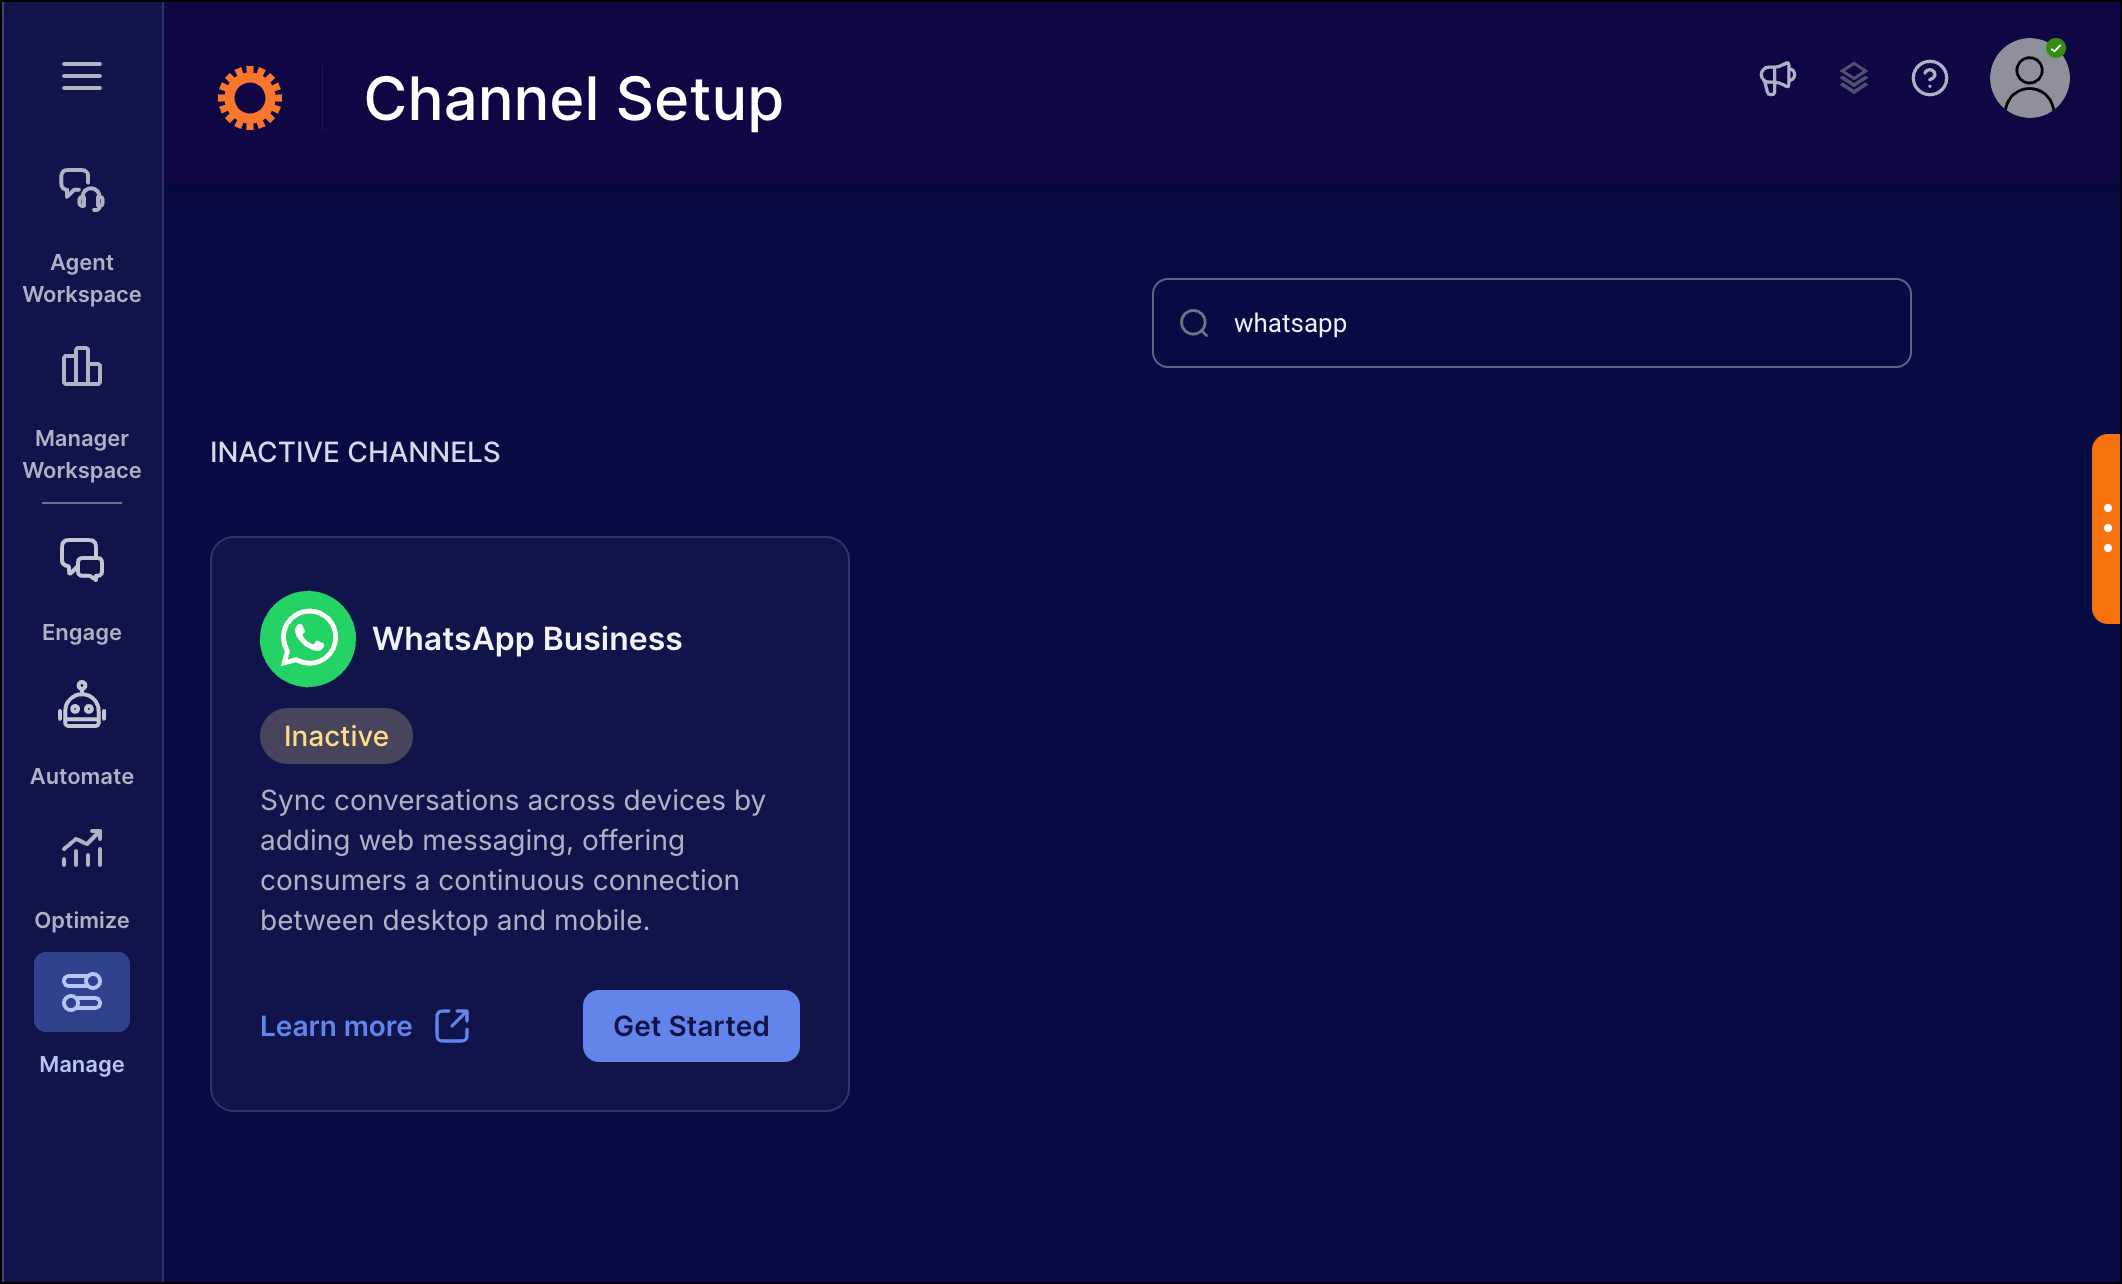
4. Click Get Started. The WhatsApp Integration Dashboard page appears.

5. Click Add New Integration. The WhatsApp Integration Wizard page appears.
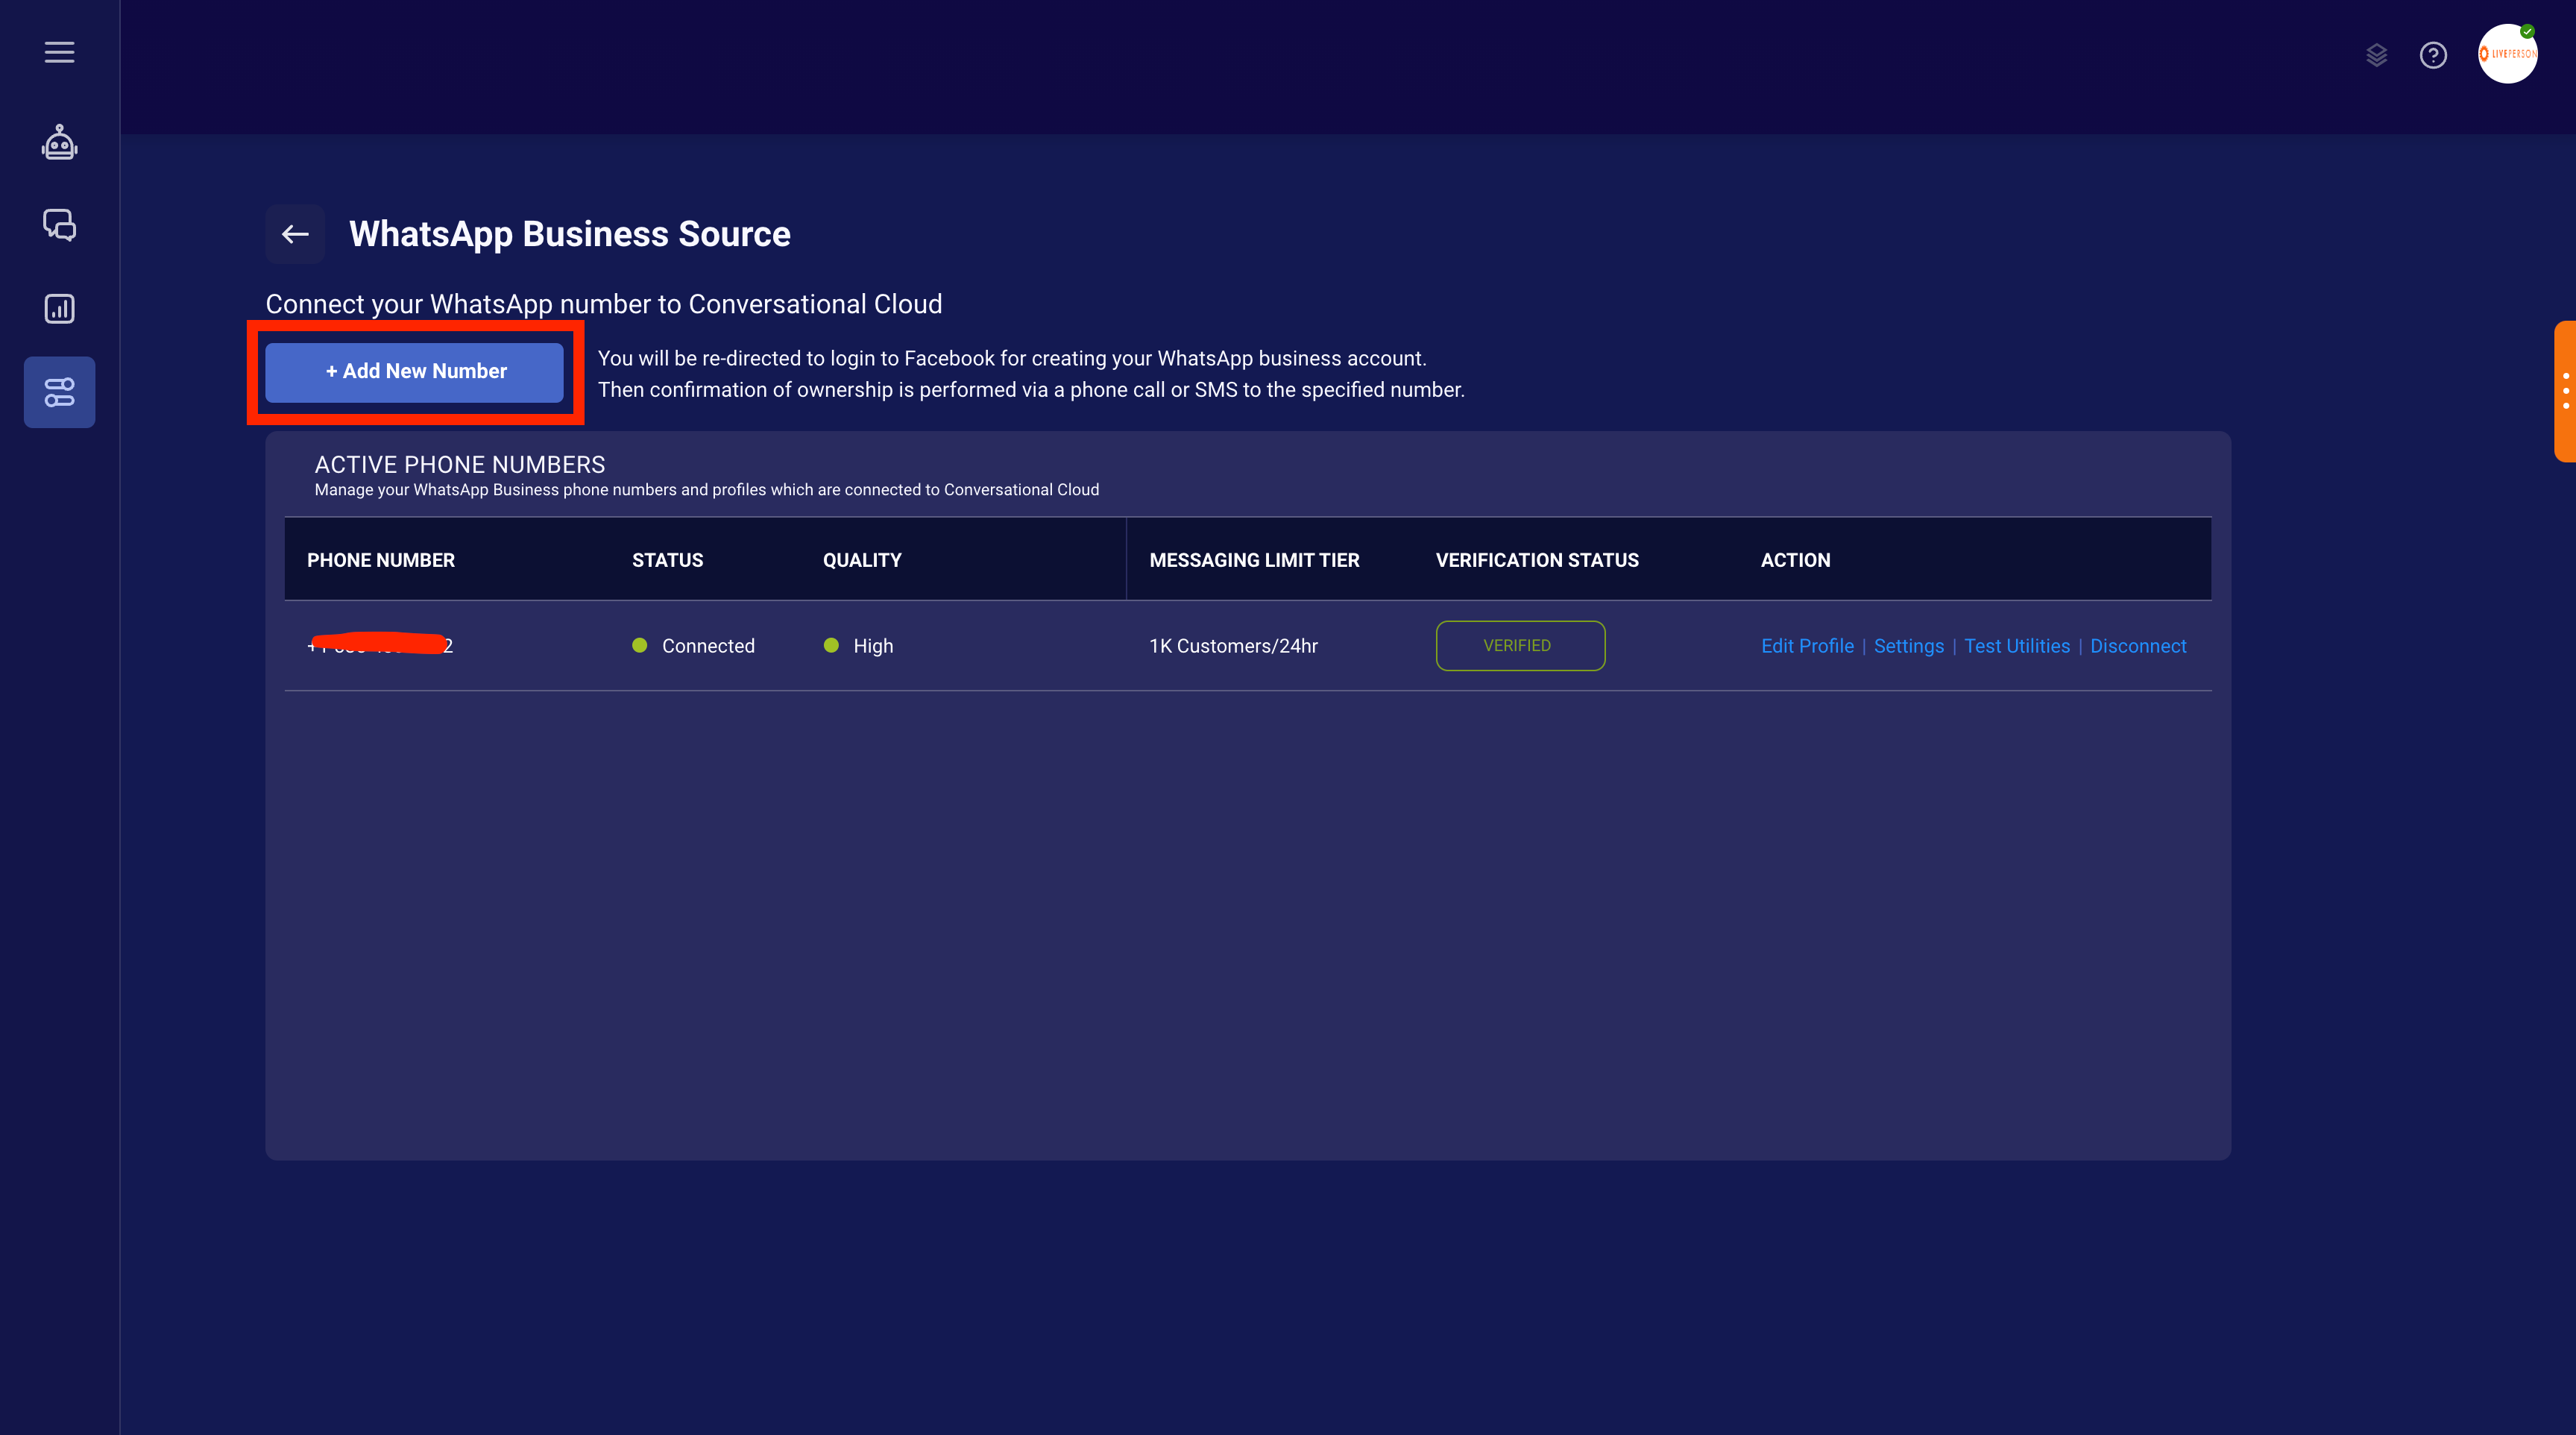
➡️ If a number is already integrated with the WhatsApp Business channel and requires changes or additional numbers, the page displays the active phone numbers and the + Add New Number button.
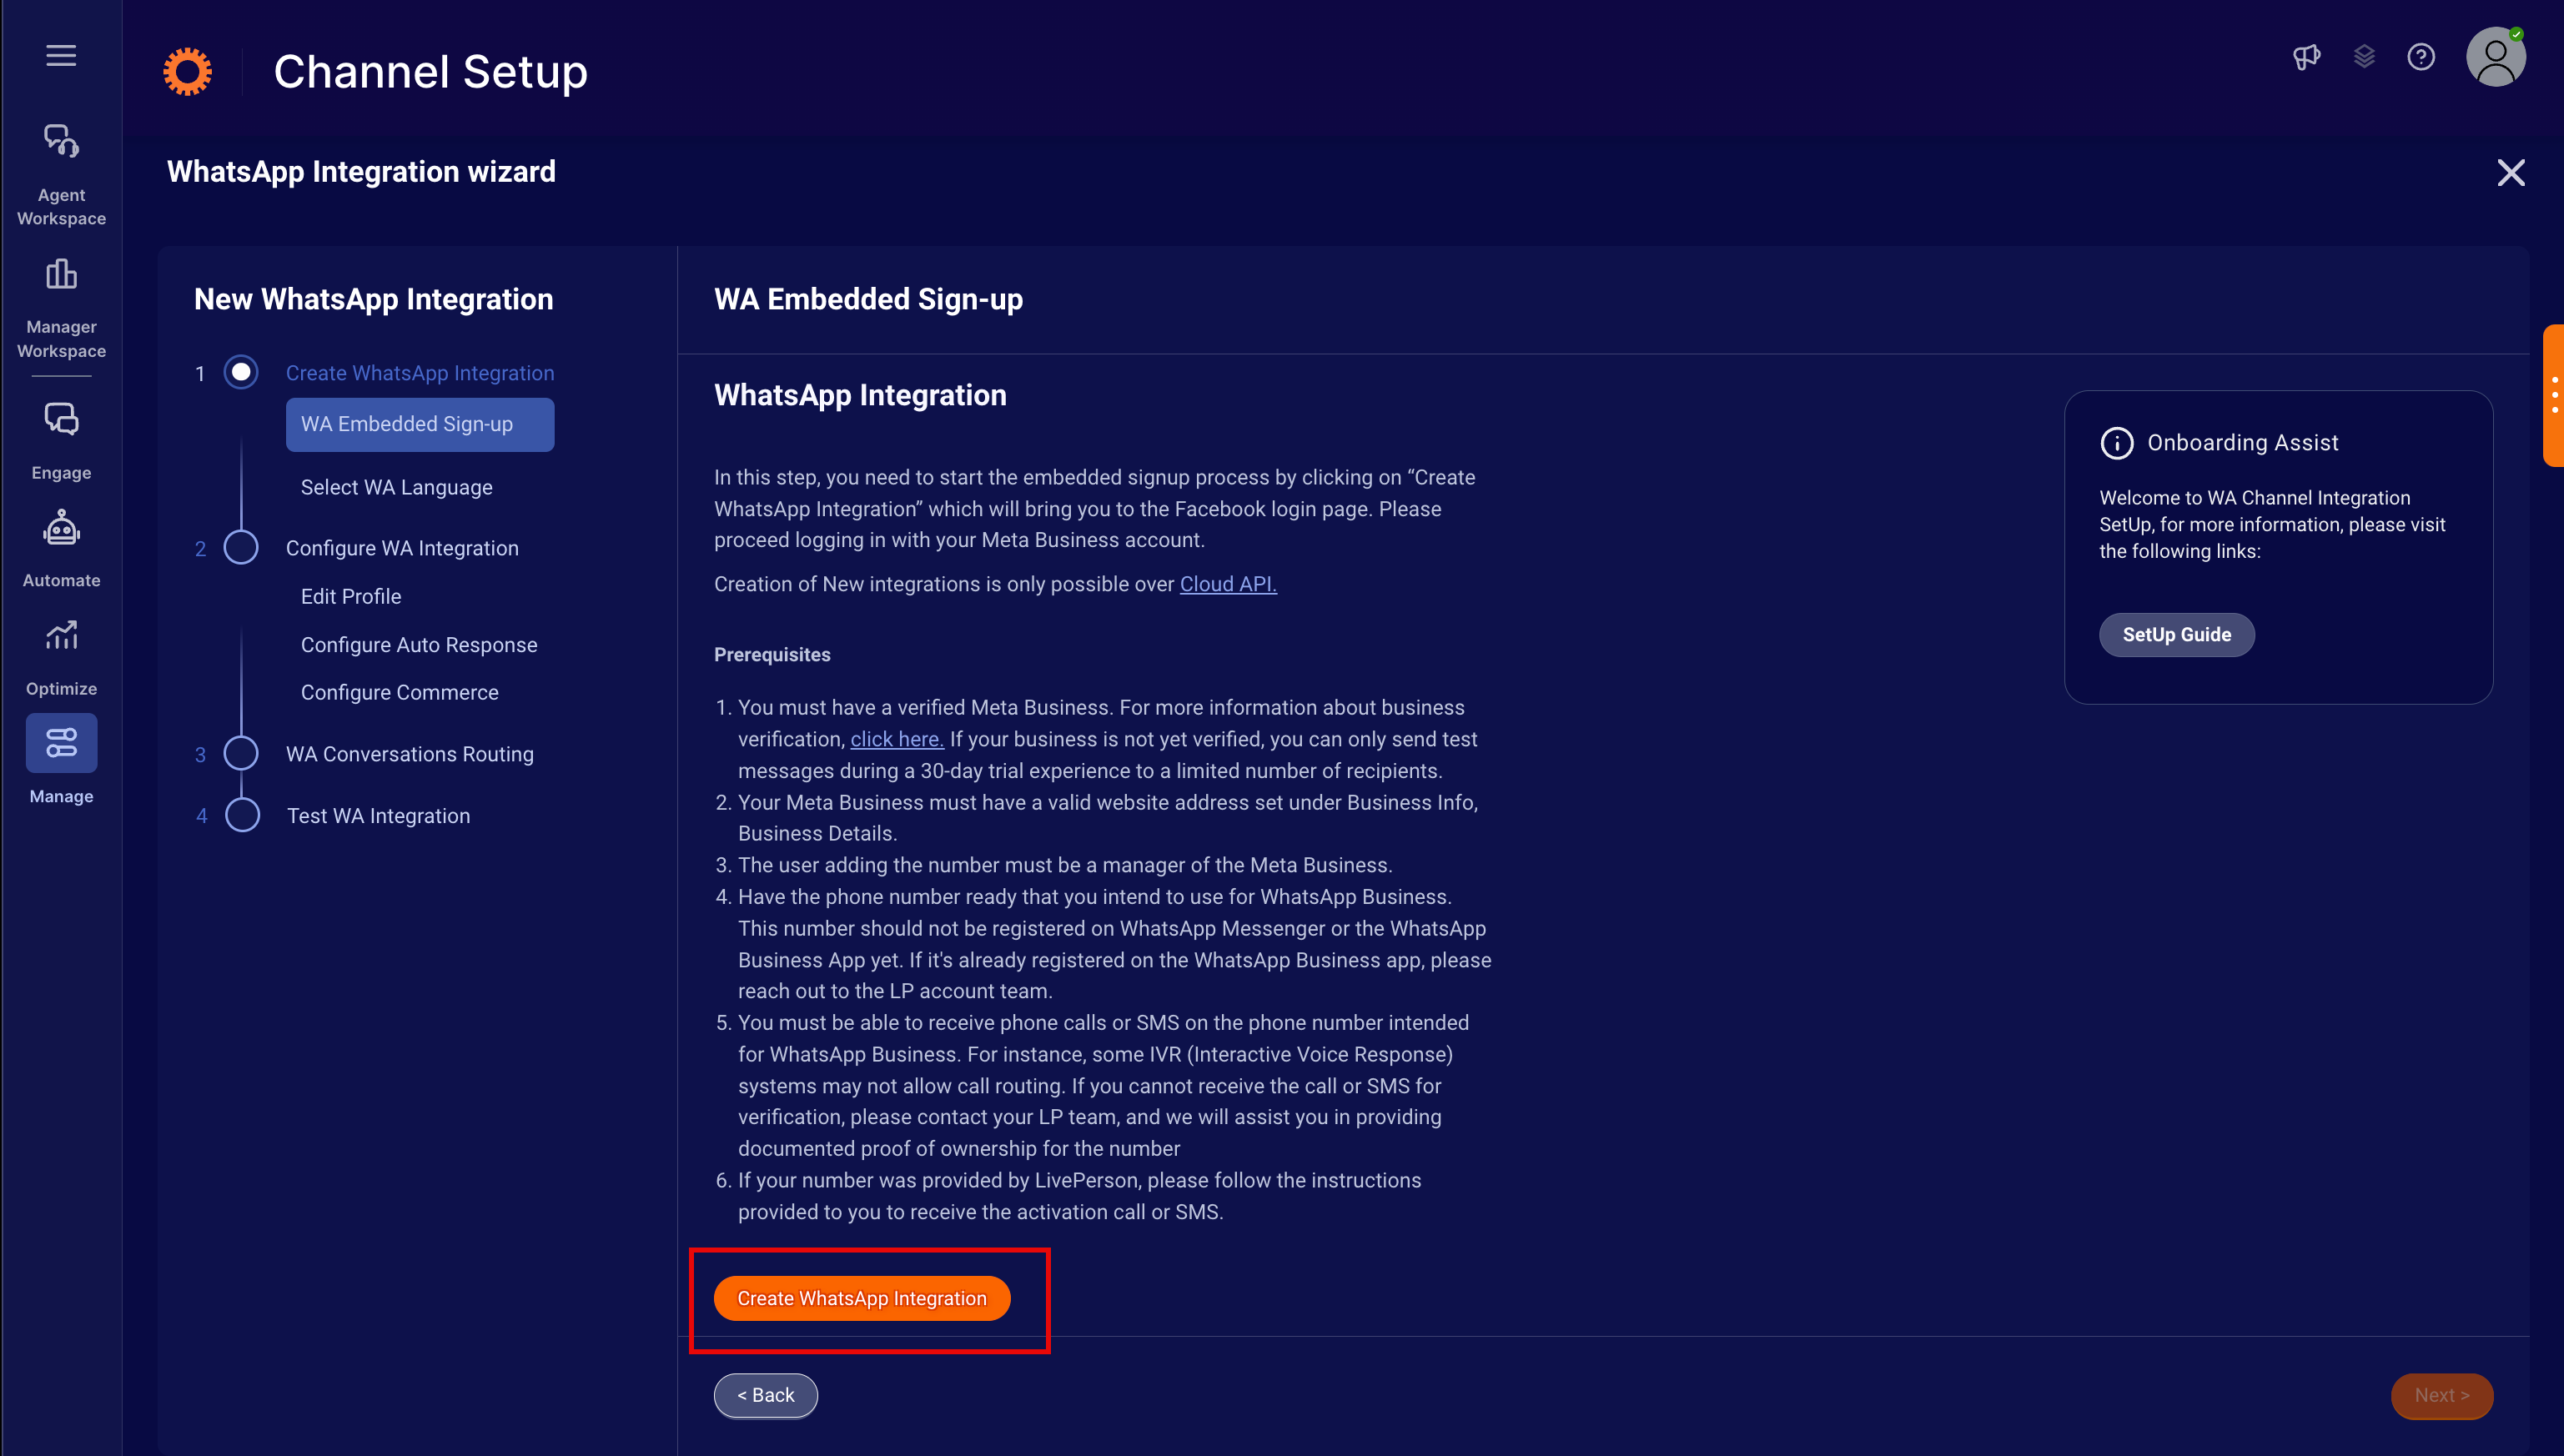
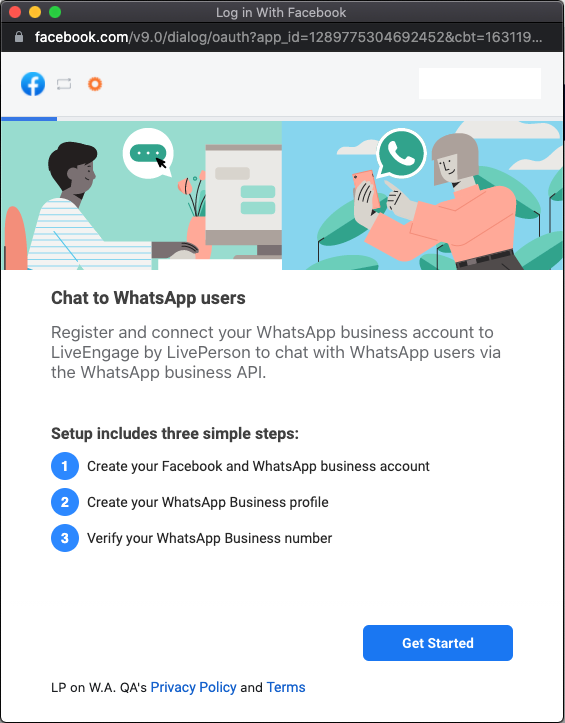
6. Under WA Embedded Sign-up, review the WhatsApp integration instructions and verify that the prerequisites are met, then click Create WhatsApp Integration. The Log in With Facebook window opens.
or
For additional numbers, click + Add New Number. The Log in With Facebook window opens.
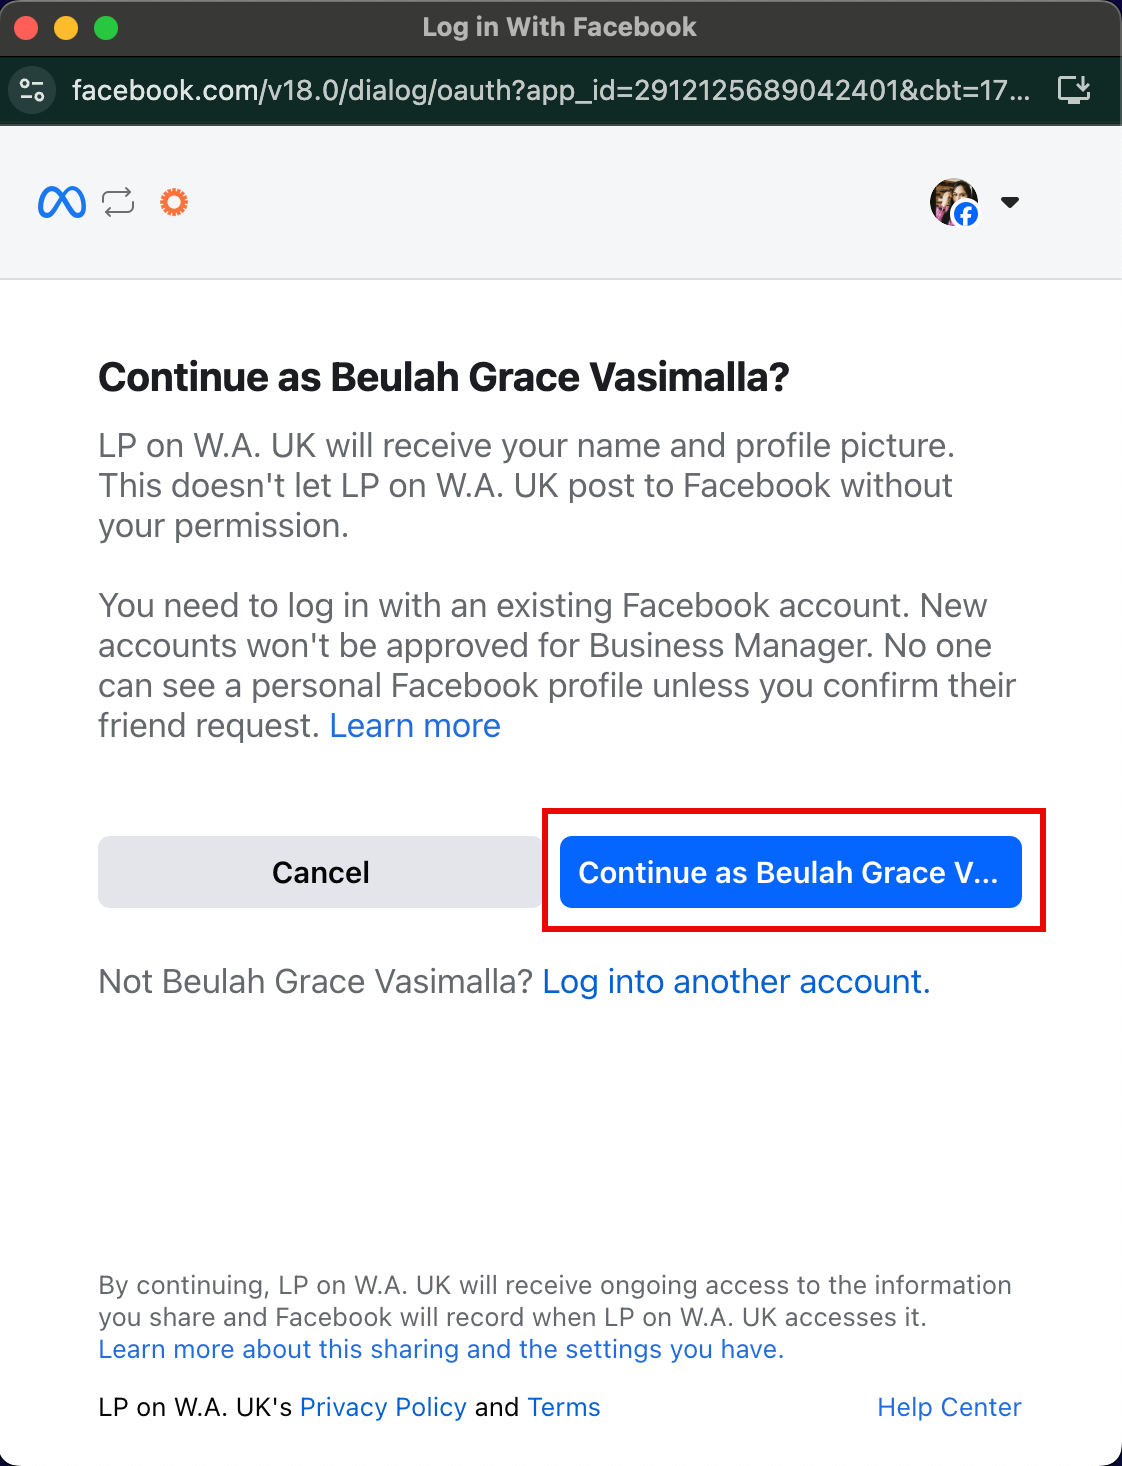
➡️ If you are already logged in, the Log in With Facebook window opens, asking if you want to Continue as <your name>".
7. Follow the instructions in the pop-up window to create a new Facebook business or select an existing one.
8. To create a new WhatsApp Business Account, click Get Started.
9. Select or create your Meta Business Account, then click Continue.
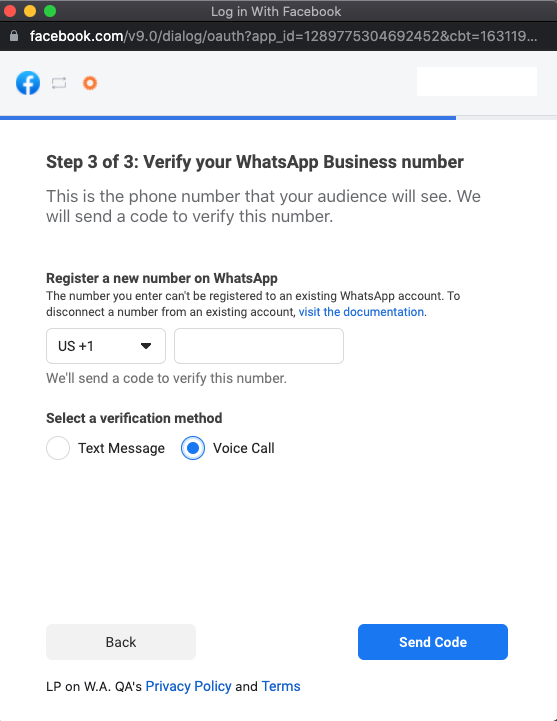
10. Create a new WhatsApp Business Account or select an existing one, then click Continue. In the final step, create a WhatsApp Business Profile and verify the phone number you want to use for WhatsApp.
➡️ If you need to change your display name, a request must be raised with WhatsApp to make this change. Create a support ticket here.
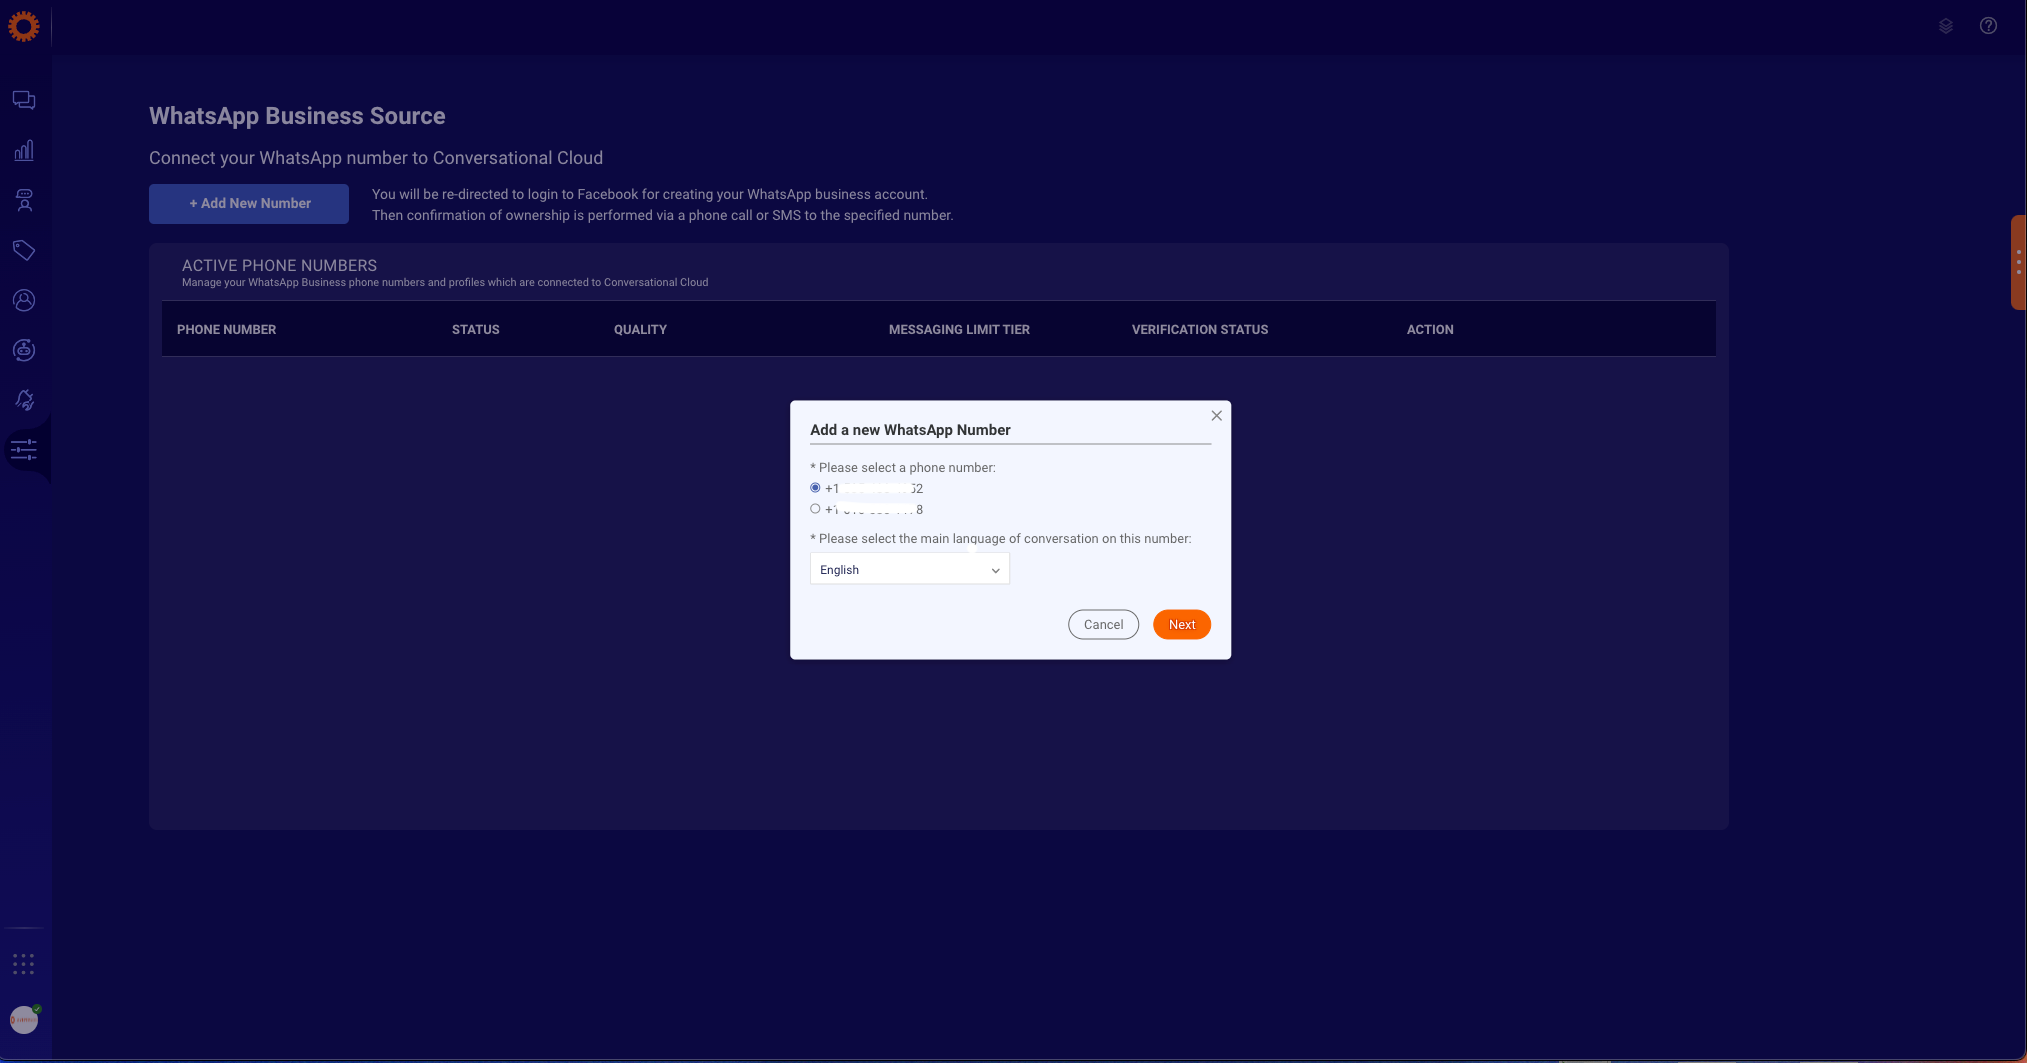
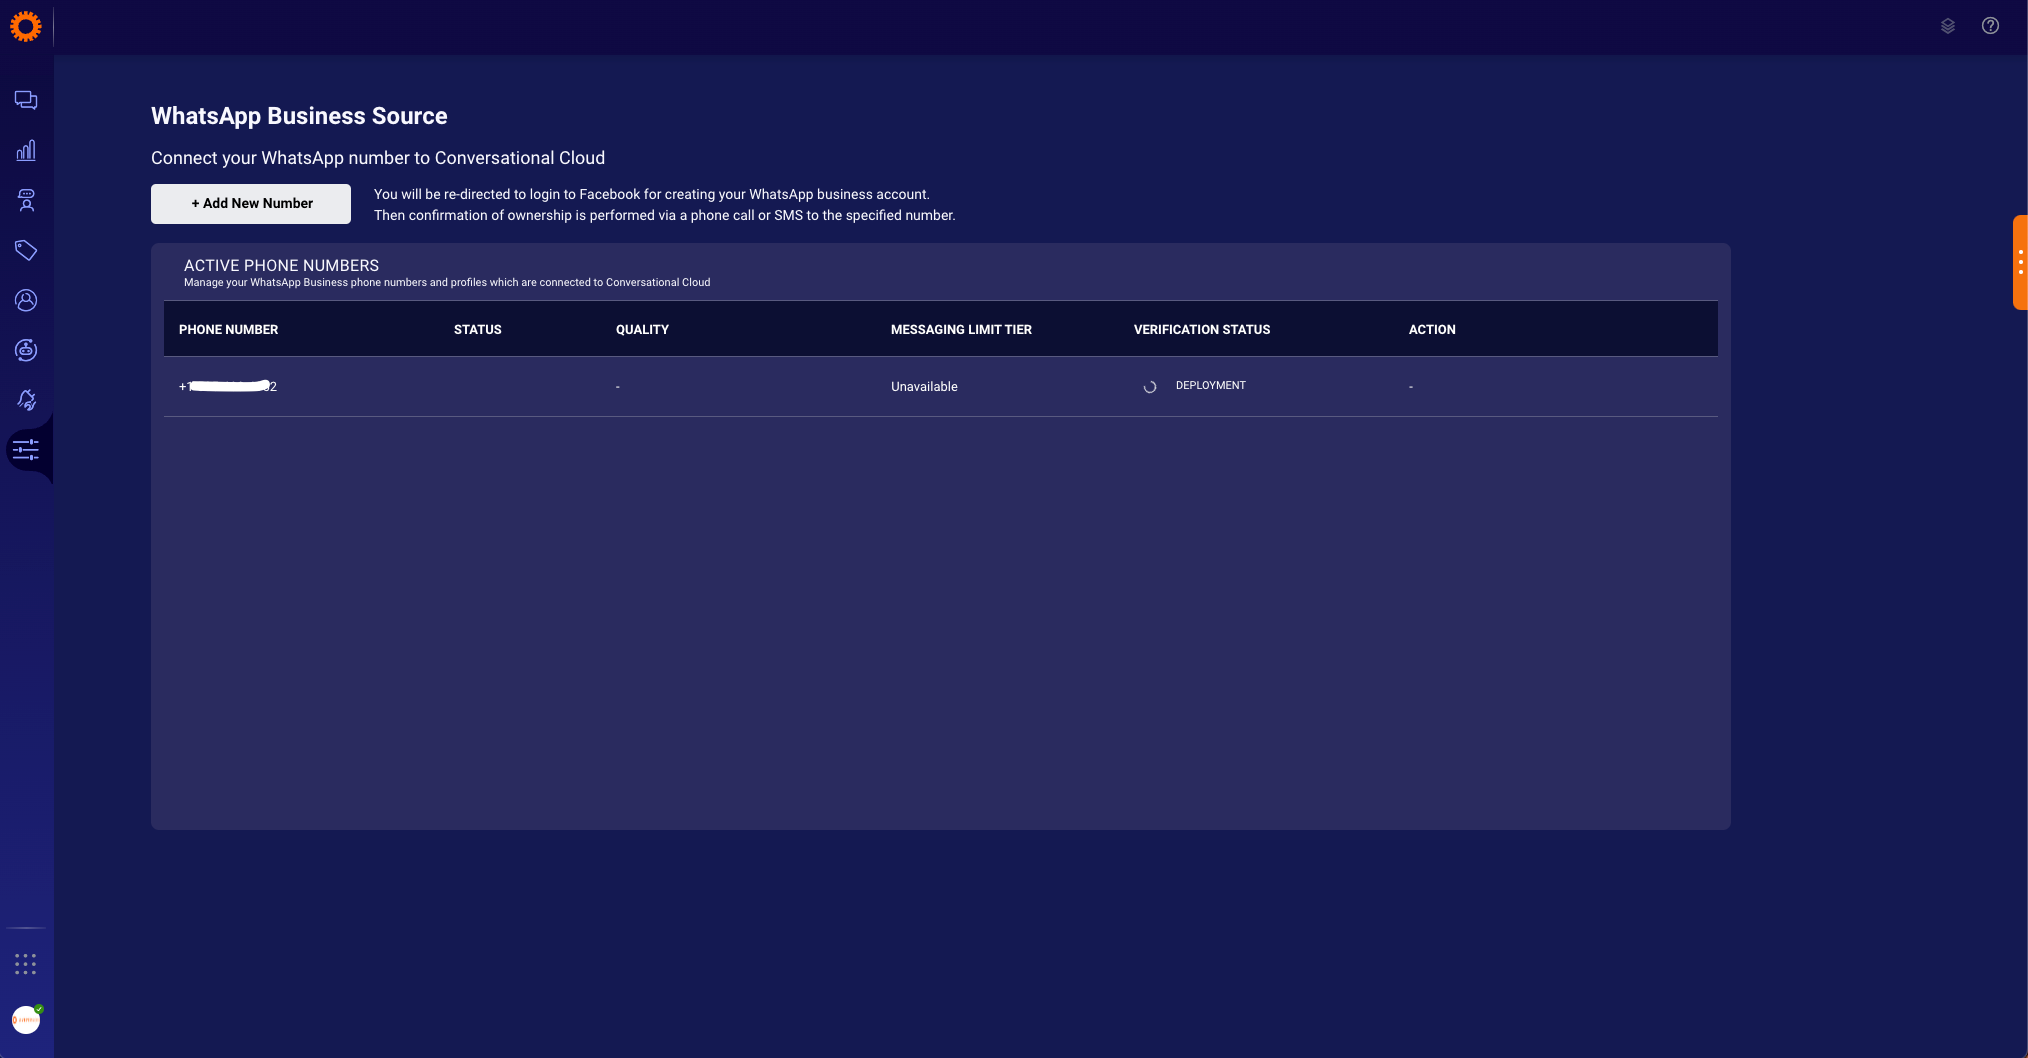
11. After the process completes and the pop-up closes, a dialog appears to confirm the phone number and select the main language of conversation for the account. Click Next to finish adding the new WhatsApp number.
➡️ The WhatsApp integration may take up to 10 minutes to deploy and configure. The status is displayed with a loading spinner. If an error occurs during number onboarding, refresh the page and try again.
If your phone number does not appear in the list, it may be because your WhatsApp Business profile or display name is not yet verified. This can happen if the number is undergoing manual verification by the WhatsApp Business Team. In this case, you will receive an email about the approval request within approximately 6 hours. Once your profile is approved, you can repeat the process of adding a new number. If you continue to experience issues, create a ticket here.
12. To configure the Business profile, locate your number in the table, then click Edit Profile under the Action column. Consumers see this profile in the WhatsApp application when messaging your business.

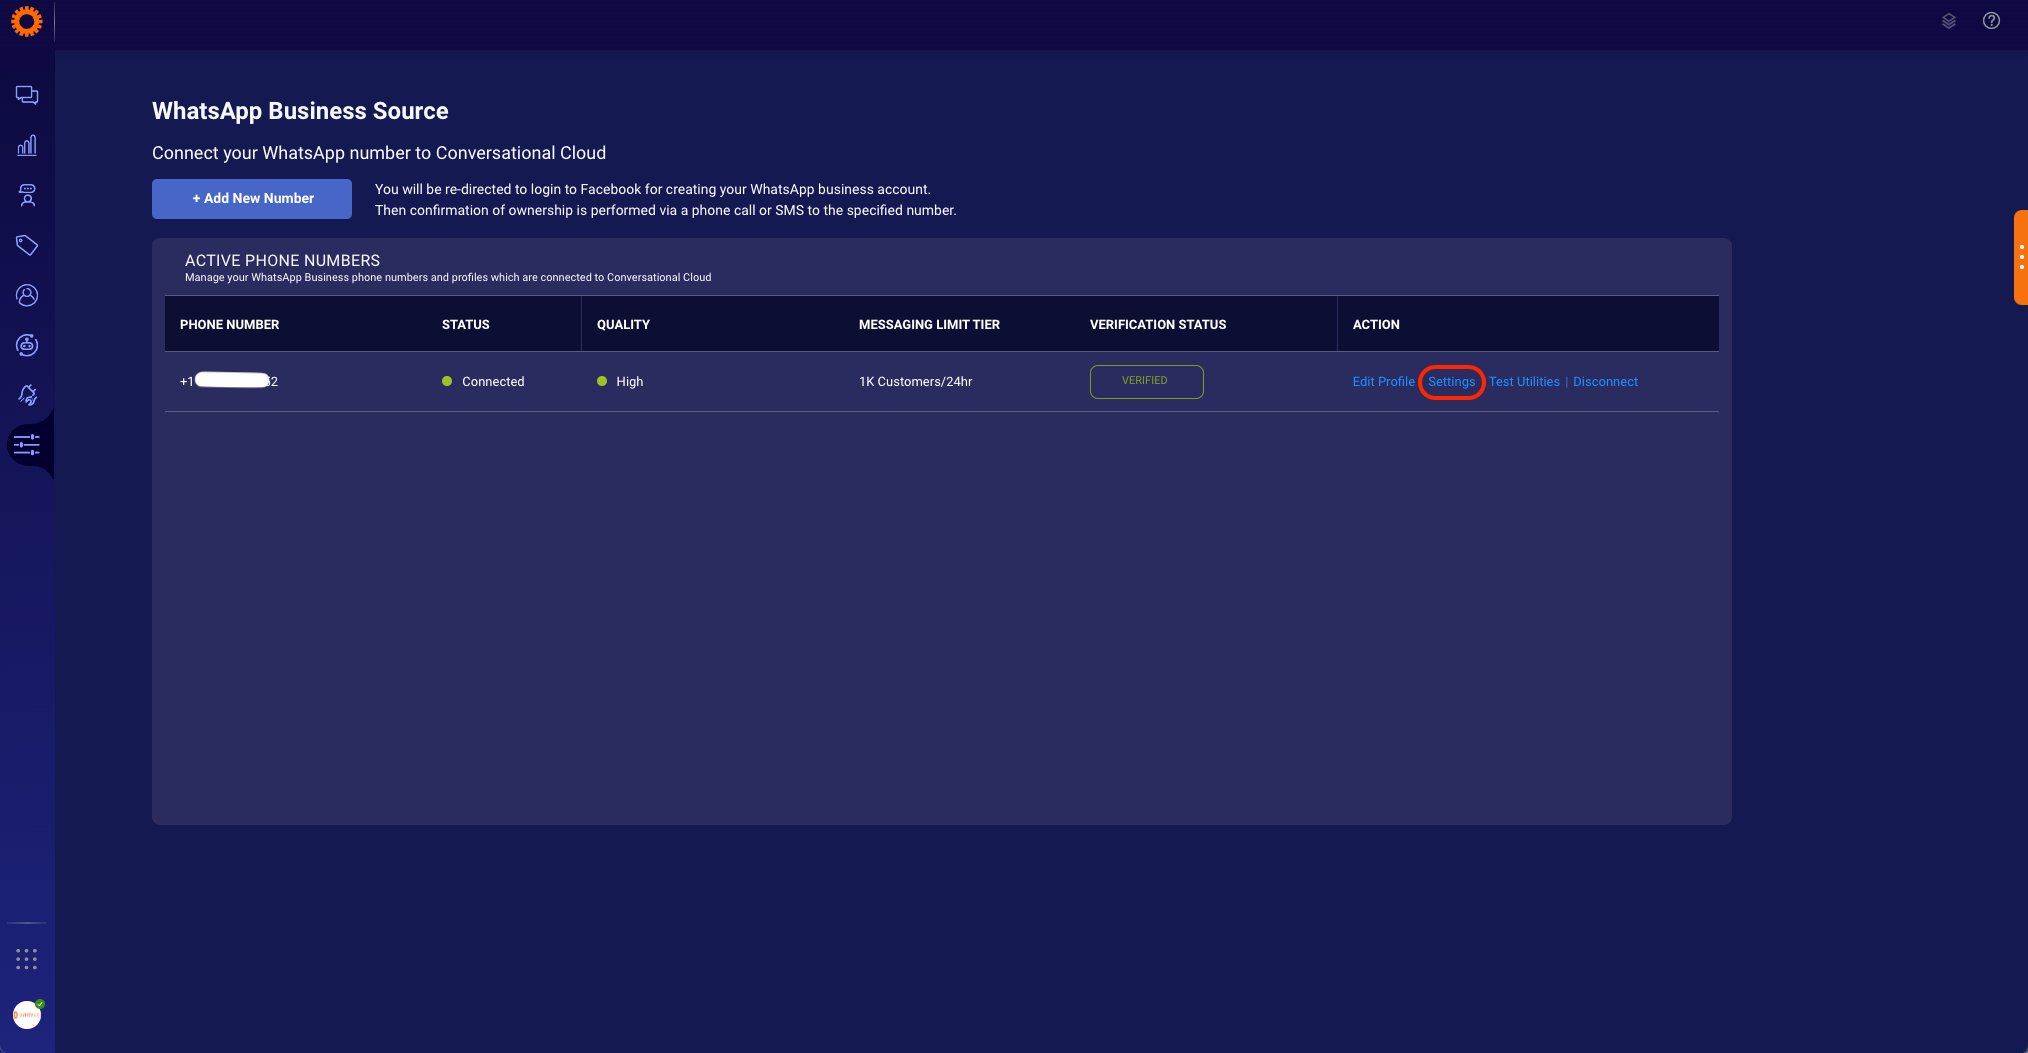
13. To configure additional settings, locate your number in the table, then click Settings under the Action column. You can configure the following options:
- Show Customer Profile: Display the customer's name and profile picture in Conversational Cloud.
- Show Agent Name: Display the agent's name on the consumer side as part of each agent message.
Additionally, you can set up automated responses to send back to consumers.
14. To test the utility setup, locate your number in the table, then click Test Utilities under the Action column. A pop-up window opens with a link and QR code to start the chat with the number. Test the setup by sending a WhatsApp message to the number connected to Conversational Cloud. When the message appears in the Agent Workspace, respond as an agent and check the response in the WhatsApp application.
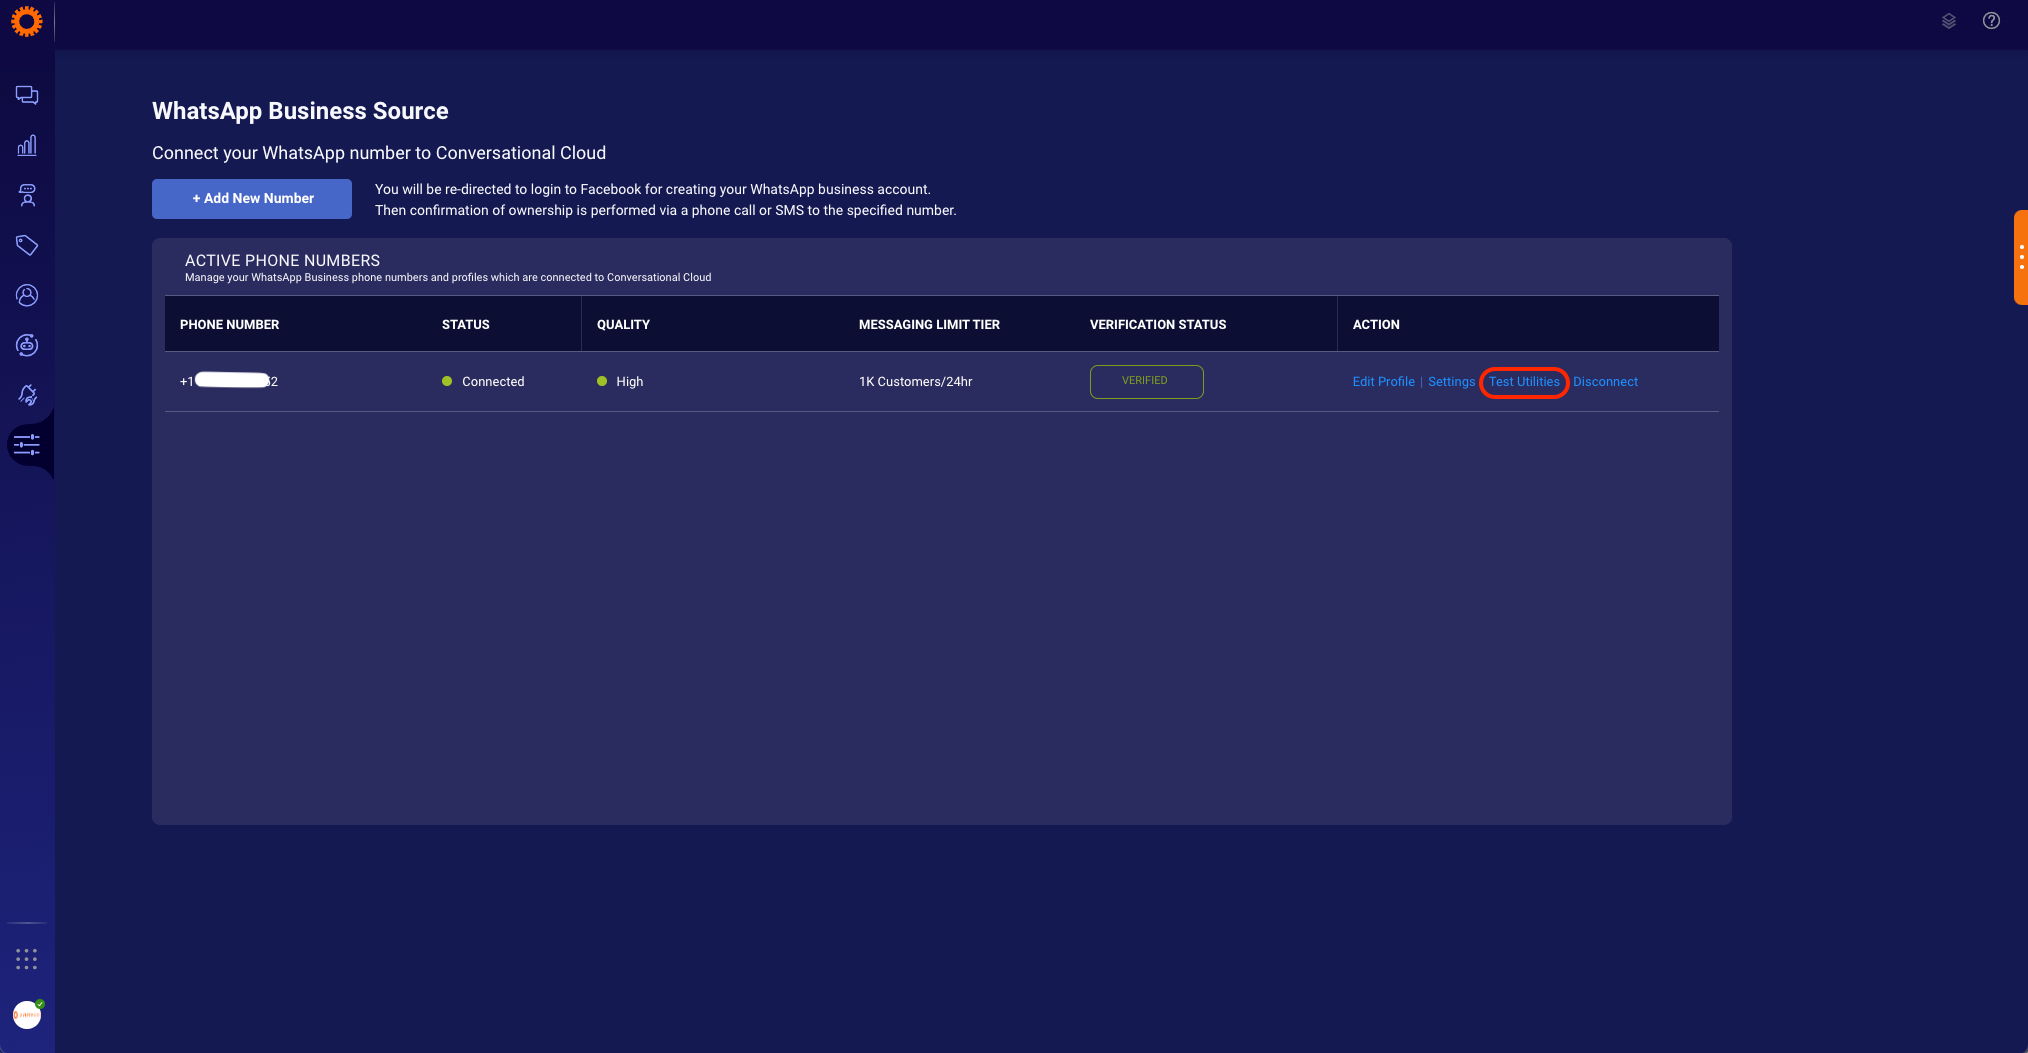
➡️ You can send messages only to a limited range of numbers until your Meta Business account, WhatsApp Business account, and display name are approved.
You can review the status of the WhatsApp Business account and display name by hovering over the phone number entry in the table.
15. To review the status of Meta Business verification, log in to the Meta Business Manager.
🚨 If your Meta Business account, WhatsApp Business account, or display name are not approved after the 30-day trial period, the number will stop working and disconnect from your Conversational Cloud account.